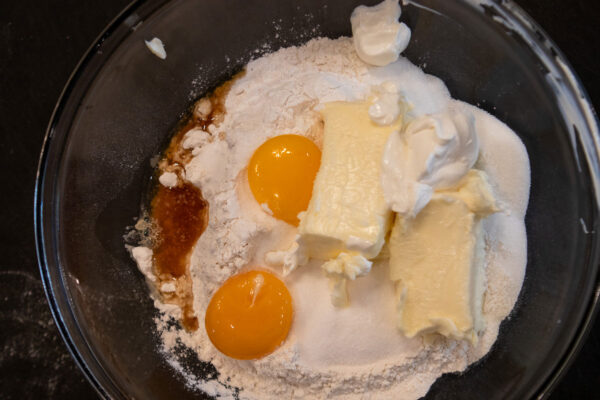
Ingredients
- 2 cups light brown sugar, packed
- 2 tsp kosher salt
- 16 tbsp unsalted butter, cut into 1-inch pieces
- 1/2 cup whole milk
- 2 & 3/4 cups (330g) unbleached bread flour, divided
- 2 large eggs, cold from the refrigerator
- 1 tbsp vanilla extract
- 1 & 3/4 tsp baking powder
- 1/4 tsp baking soda
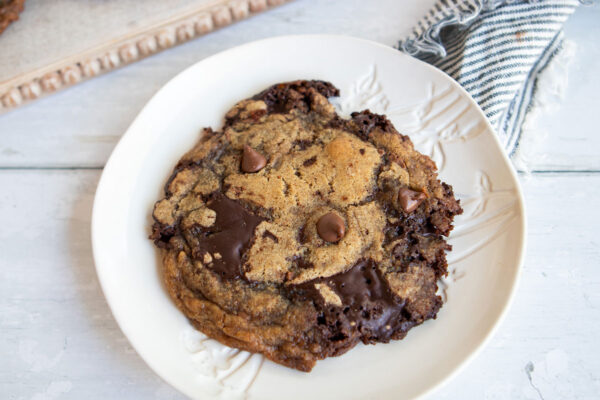
- 2 cups semisweet chocolate, preferably 60% to 65% cocoa content (use chopped wafers or bars for best results; if using chocolate chips, chop them roughly before incorporating)
Instructions
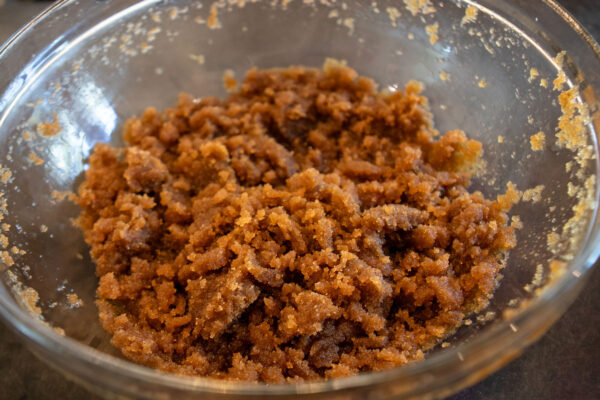
In a large bowl, combine the brown sugar and salt. Set aside.
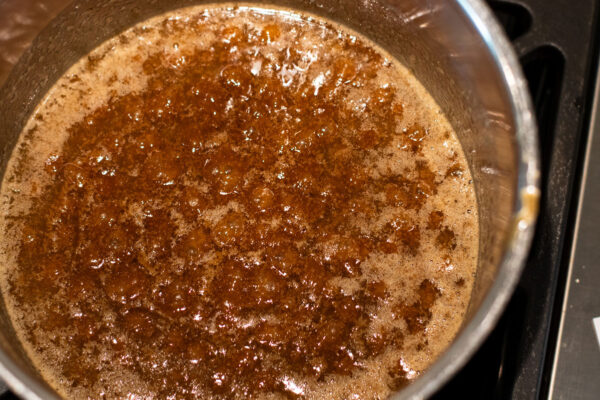
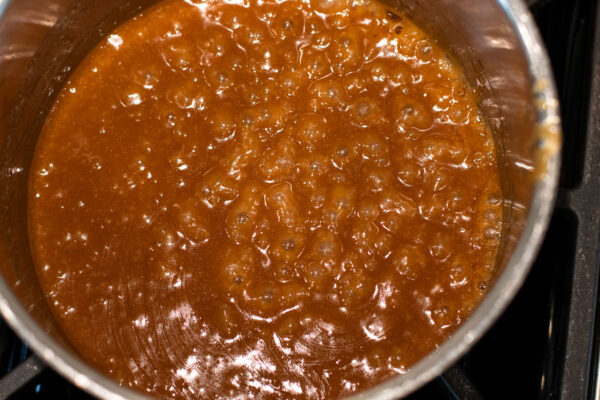
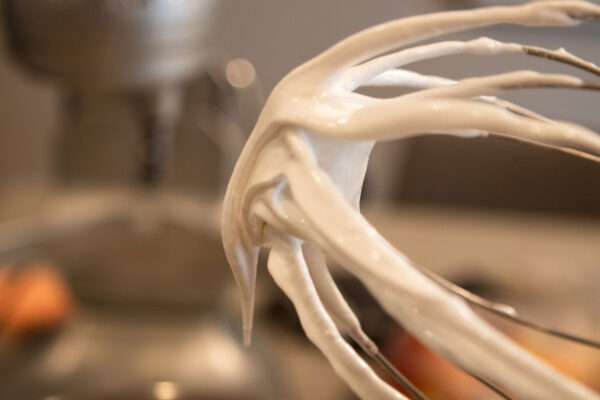
To brown the butter, in a saucepan over medium-high heat, melt the butter. After several minutes, the butter will sizzle and may spatter. Continue to cook the butter, swirling the pan regularly, for about 5 to 7 minutes, until it’s a dark golden brown color and brown bits start collecting at the bottom of the pan; the butter will have stopped sizzling and may also have a layer of foam on the surface.
Once the butter is browned, immediately pour it over the sugar mixture (be sure to scrape out the brown bits at the bottom) and whisk vigorously to combine; this helps dissolve the sugar slightly and creates the shiny surface of the baked cookies. (The mixture will stay lumpy and won’t become smooth at this point.) Set the empty saucepan aside to cool slightly.
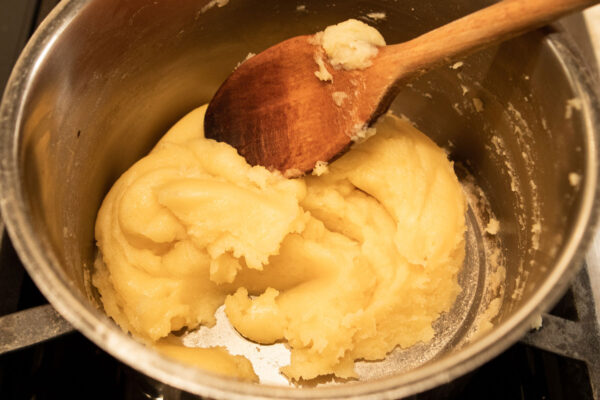
To make the tangzhong, in the same saucepan used to brown the butter, combine the milk with 3 tablespoons of the bread flour and whisk until no lumps remain.
Place the saucepan over low heat and cook the mixture, stirring regularly with a whisk and then a flexible spatula, until it’s thickened, paste-like, and starts to come together into one mass, about 2 to 3 minutes.
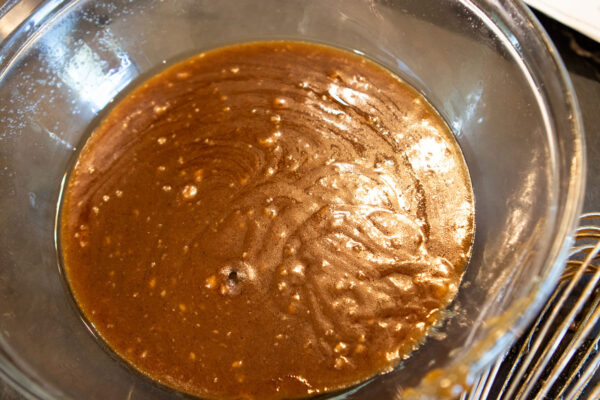
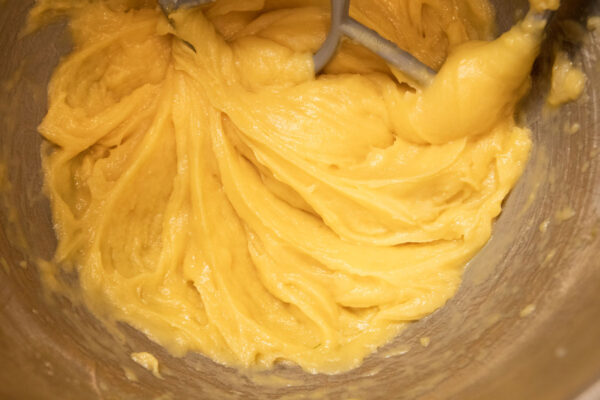
Remove from the heat and transfer directly to the bowl with the butter and sugar. Whisk until mostly smooth; some lumps of the tangzhong mixture are ok.
Add the eggs and vanilla and continue whisking until smooth.
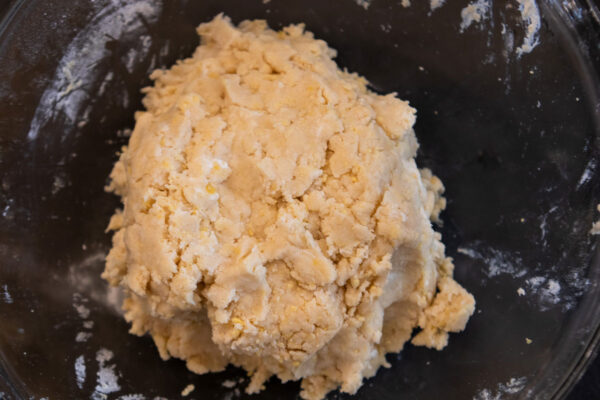
Weigh or measure the remaining 2 & 1/2 cups plus 1 tablespoon bread flour by gently spooning it into a cup, then sweeping off any excess. Add the bread flour to the bowl with the butter and sugar, then add the baking powder and baking soda. Using a whisk or flexible spatula, stir until well combined and no dry spots remain.
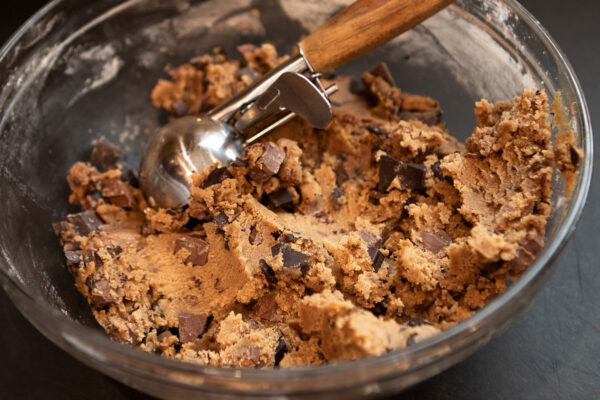
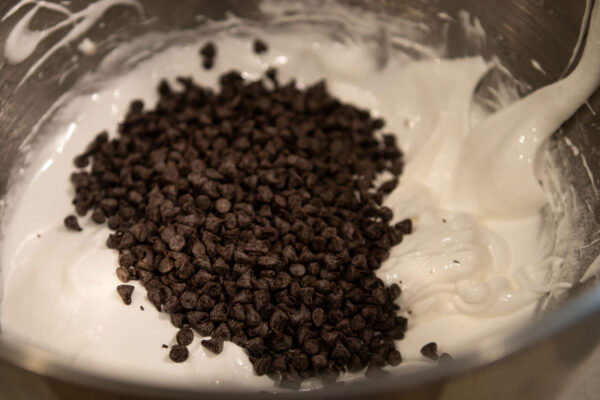
Place the bowl, uncovered, in the refrigerator and allow it to cool for 10 to 15 minutes. While the batter is cooling, use a serrated knife to roughly chop the chocolate into coarse pieces. Avoid chopping the chocolate too fine, as small pieces will melt when mixed into the dough.
Remove the dough from the refrigerator and fold in the chopped chocolate. Cover the bowl and return to the refrigerator for 24 to 72 hours to allow the flavors to intensify.
When you’re ready to bake the cookies, remove the chilled cookie dough from the refrigerator and let it rest at room temperature for about 10 to 15 minutes to allow it to warm up slightly. Meanwhile, preheat the oven to 350°F with a rack in the center.
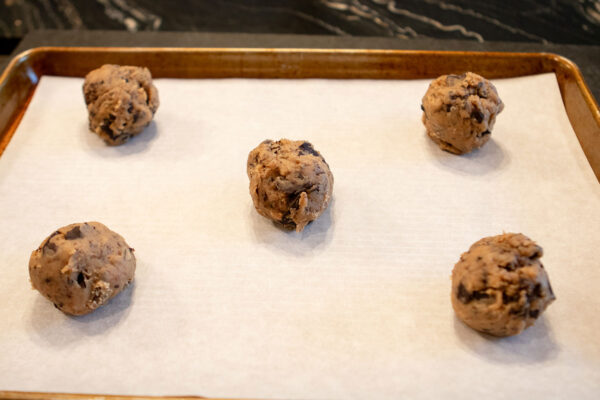
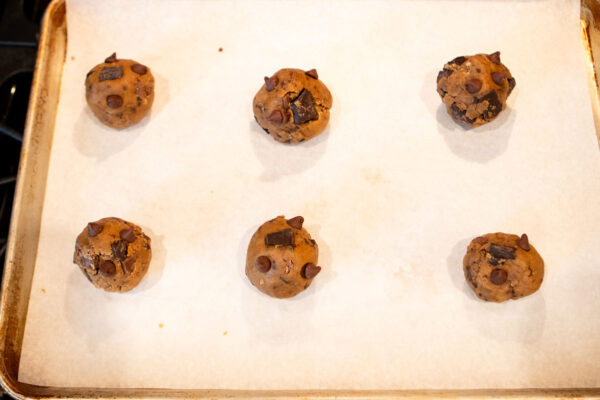
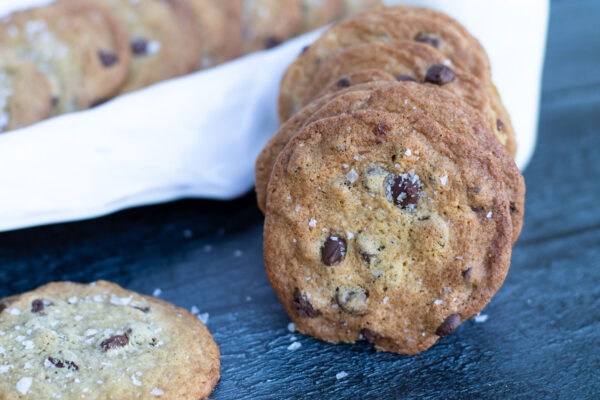
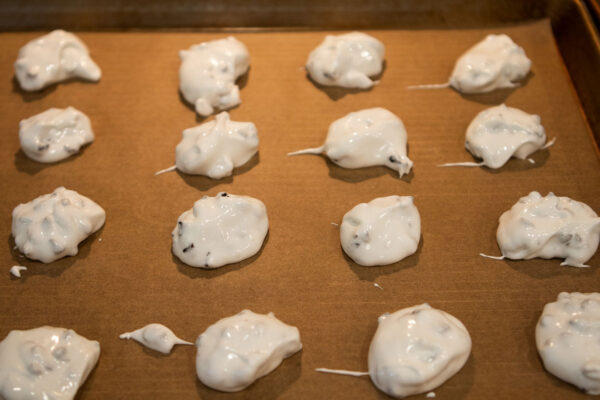
Scoop the dough into 85- to 90-gram portions; a level scone and muffin scoop works well here. If you’re scooping by hand, the mounds of dough should be about 2 & 1/4″ in diameter. To make smaller cookies (that are still generous in size), scoop the dough into 50g portions using a jumbo cookie scoop.
Arrange the scooped cookie dough on parchment-lined baking sheets, spacing them 3″ to 4″ apart. (Five dough balls fit perfectly on a half-sheet pan. The 90g cookies can be arranged in a 2-1-2 pattern; the 50g cookies can be arranged in a slightly staggered 4 x 2 pattern.) For consistently shaped cookies, roll each piece of dough into a smooth ball before baking.
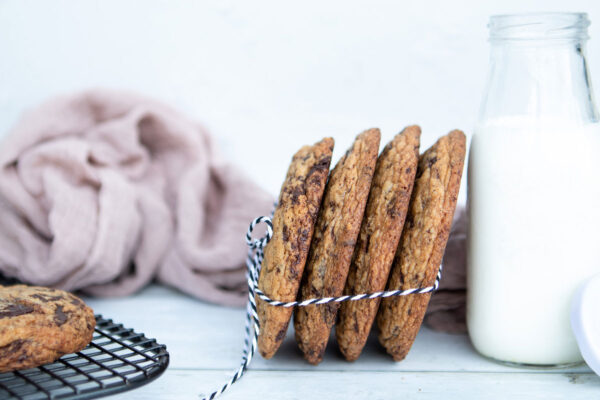
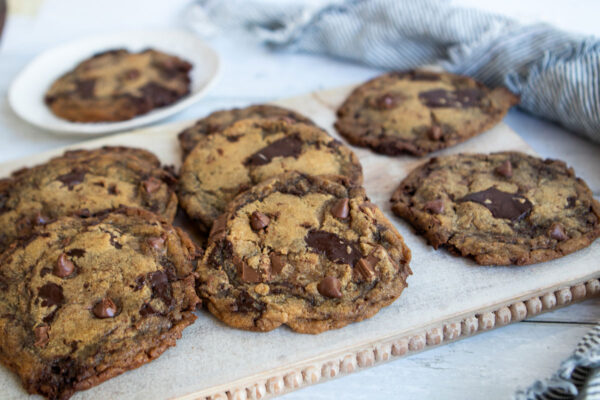
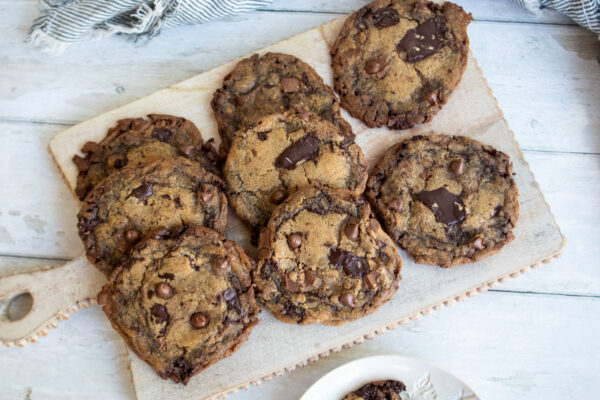
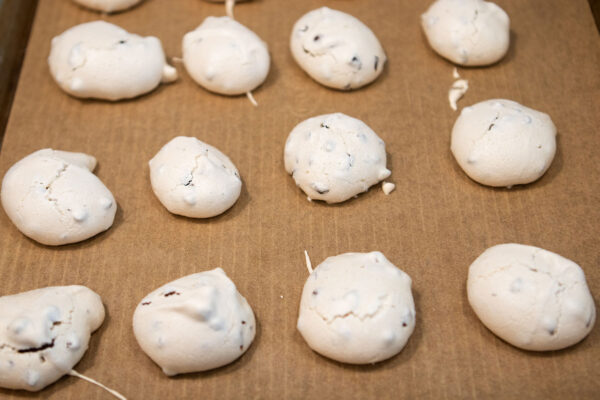
Bake the large (90g) chocolate chip cookies for 18 to 22 minutes or the smaller (50g) cookies for 15 to 18 minutes, until the edges are set and the cookies are browned, rotating the pan halfway through baking to ensure even browning. (For best results, bake one pan of cookies at a time.) Remove the cookies from the oven and let them rest on the baking sheets until cool enough to handle, at least 15 minutes.
Storage information: Store leftover chocolate chip cookies, covered, for up to 5 days; their slightly crispy edges will soften and the cookies will maintain a soft texture. Freeze baked cookies for longer storage.
Chef’s Notes:
Use chopped wafers or bars for best results; if using chocolate chips, chop them roughly before incorporating.
To avoid scooping chilled (relatively hard) cookie dough, scoop the dough after about 1 to 2 hours of chilling and then return to the refrigerator to continue chilling for 24 to 72 hours. Follow the recipe as otherwise written.
For a more complex, less sweet flavor: Replace up to 1 cup (170g) semisweet chocolate with bittersweet chocolate (between 70% to 75% cocoa content).
To bake immediately (no overnight rest): Prepare the recipe as written through chopping the chocolate. Prepare a 9″ x 13″ pan with a parchment paper sling; lightly grease the shorter, exposed sides of the pan with nonstick spray. Fold in the chopped chocolate, and then immediately transfer the batter to the prepared pan. Spread the batter evenly in the pan. Bake at 350°F for 34 to 38 minutes, until well-browned and set. A toothpick or thin knife inserted into the center should come out with some moist crumbs but no raw batter. Cool the cookie bars completely before using the sling to remove them from the pan and slicing.
Recipe by King Arthur Baking Company