Ingredients
For the Rub and Pork:
- 1 tbsp brown sugar
- 2 tsp garlic salt
- 2 tsp ground coriander
- 2 tsp paprika
- 1 tsp onion powder
- 1/2 tsp ground black pepper
- 1 tsp baking soda
- 2 & 1/2 pounds pork tenderloins (look for 2 tenderloins, 1¼-1½ pounds each)
For the Pan:
- 1 & 1/2 tbsp olive oil
- 2 tbsp cold unsalted butter, cut into 8 pieces
- 2 3-inch fresh rosemary sprigs
To Finish:
- 1/2 cup low-sodium chicken or veggie broth
- 1 tsp corn starch
- 2 tsp grainy Dijon mustard, optional
- fresh rosemary sprigs, for garnish, if desired
Instructions
Preheat oven to 450˚F with a large oven-safe pan on the middle rack. A large cast iron or braiser pan works well!
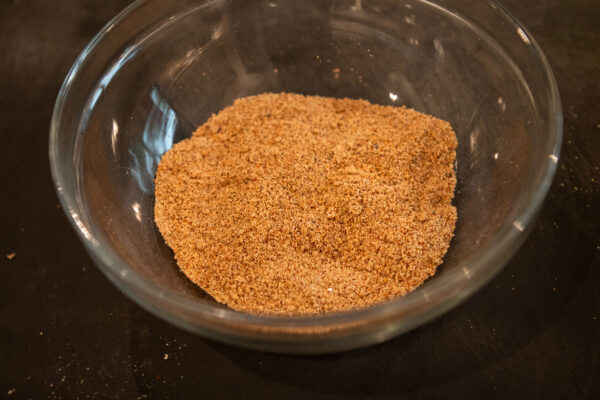
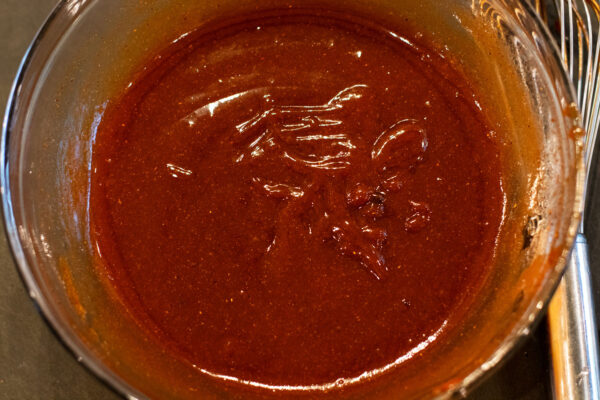
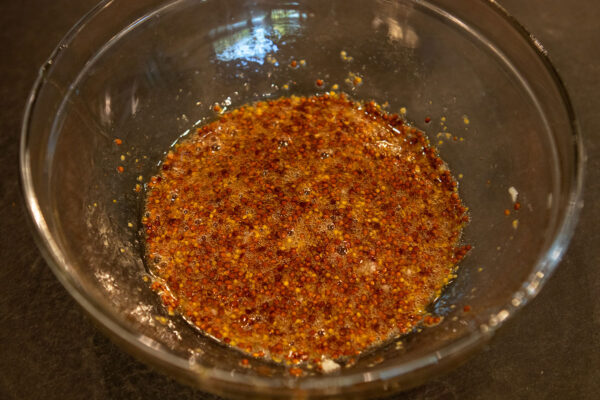
Combine the rub ingredients in a small bowl and stir well to combine. Make sure there aren’t any little lumps of baking soda.
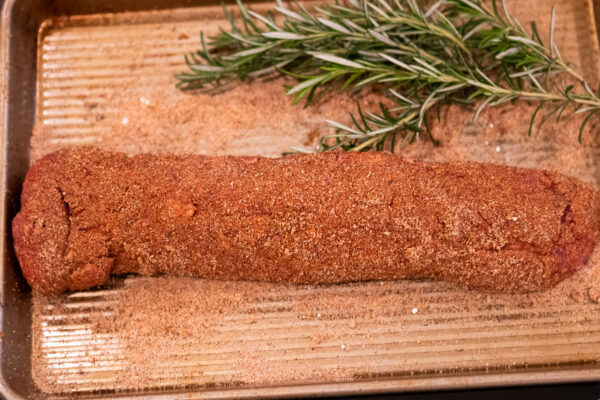
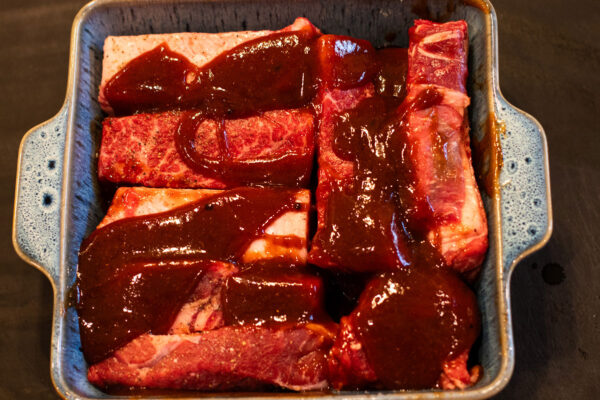
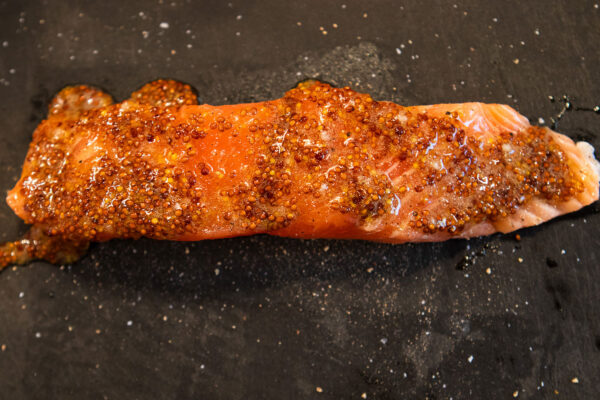
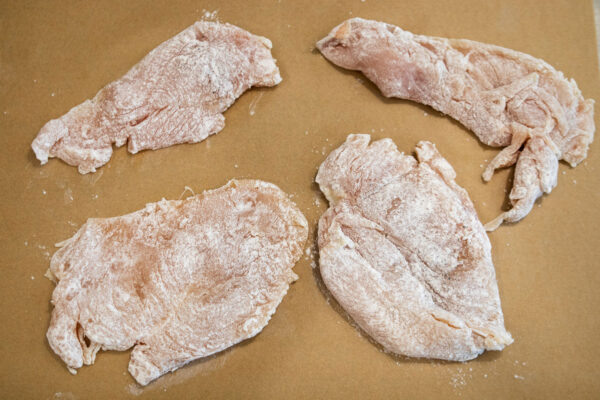
Place the tenderloins on a cutting board or a large sheet of plastic wrap, parchment paper, or butcher paper. Trim the silver skin from each tenderloin (that’s the tough white part). Pat them dry with a paper towel and drizzle each one lightly with olive oil. Sprinkle the rub over the tenderloins and pat it in to completely coat.
When the oven has been preheated, carefully remove the hot pan and add olive oil. Swirl the pan to coat it with the oil.
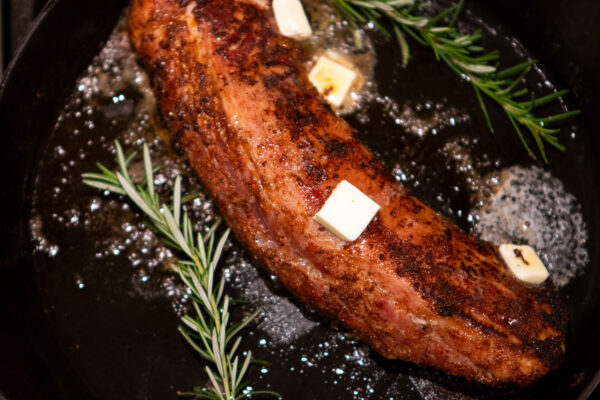
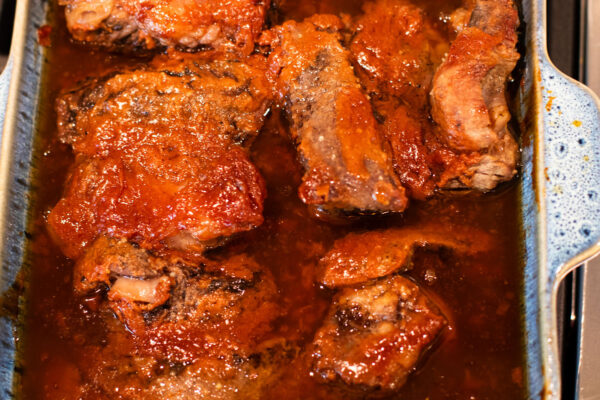
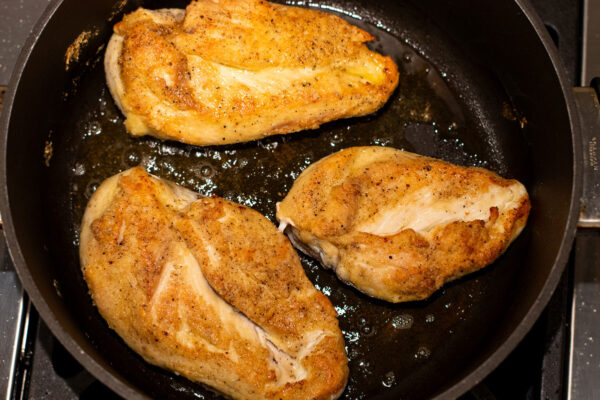
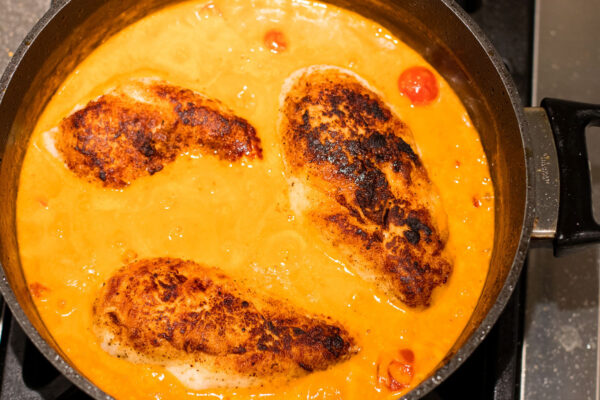
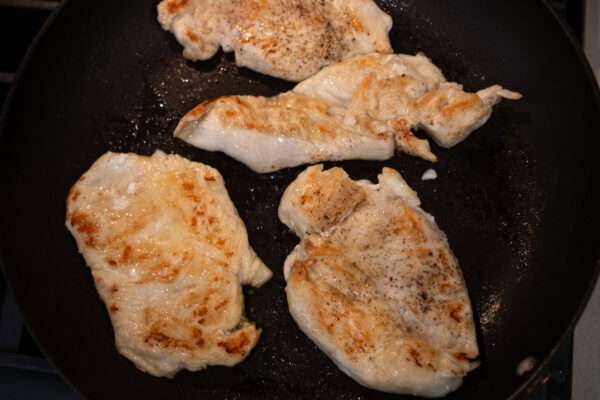
Lay the two tenderloins in the pan, smooth side down and reduce the temperature to 425˚F. Return the pan to the oven for 8 minutes. After the 8 minutes, remove the pan from the oven and flip the tenderloins to the opposite side. Top each tenderloin with half of the butter pieces. Add the rosemary sprigs to the pan.
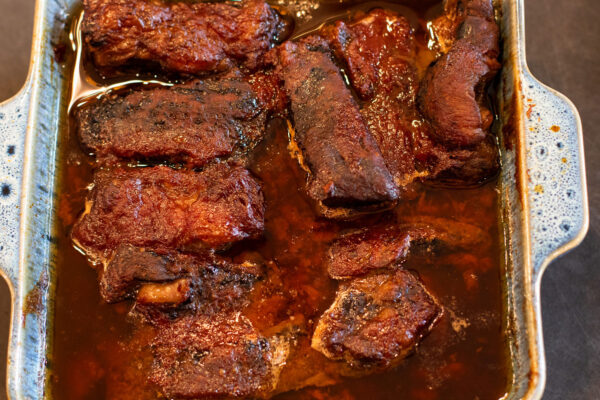
Return the pan to the oven for 5 minutes then remove from the oven and baste the tenderloins with the pan juices. Check the temperature with an instant thermometer. I like to insert the thermometer from the side into the center of the thickest part of the tenderloin. You’re looking for an internal temp of 145˚F. If you’re not near 145°, return to the oven for another 5 minutes. If you’re getting close (upper 130s or 140°), return to the oven for 3 minutes.
Continue roasting and basting every 3-5 minutes until the tenderloins reach an internal temperature of 145°F. This will take varying times, depending on the size of your tenderloins.
Remove the tenderloins to a cutting board and tent with foil for 8-10 minutes. While the pork is resting, combine the chicken broth and cornstarch in a small bowl or measuring cup. Stir well to incorporate the cornstarch.
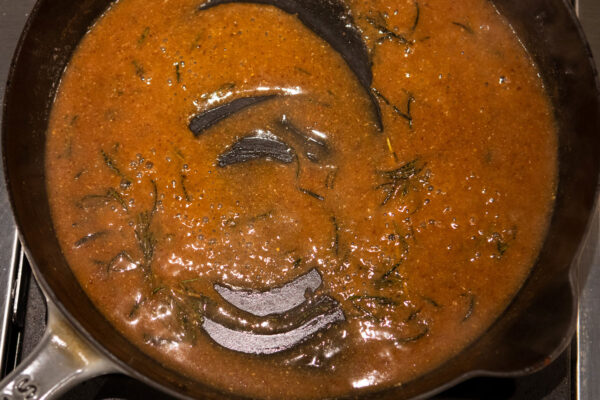
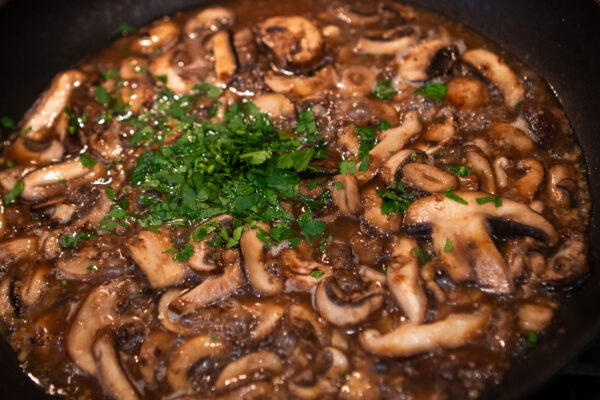
Place the pan on the stovetop over medium-high heat. Pour the chicken broth mixture into the pan. Add the mustard (if using). Use a metal spoon or sturdy, heat-resistant spatula to stir the mixture, scraping the pan to remove the brown bits from the bottom (this has tons of great flavor!).
Bring to a boil and cook for 1 minute, stirring continuously. Discard the rosemary sprigs. Add any accumulated juices from the tenderloins to the pan sauce.
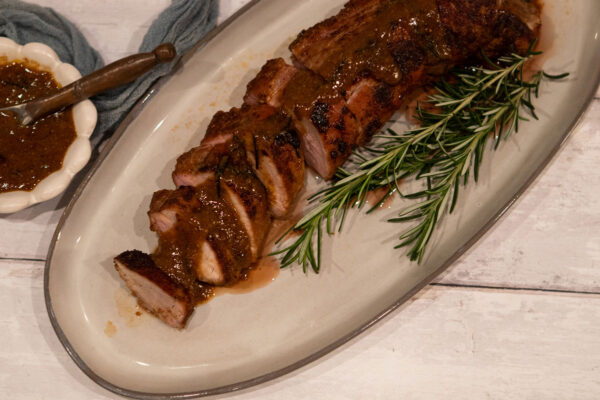
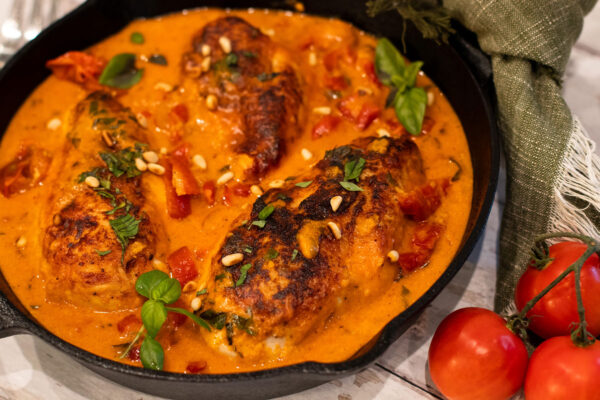
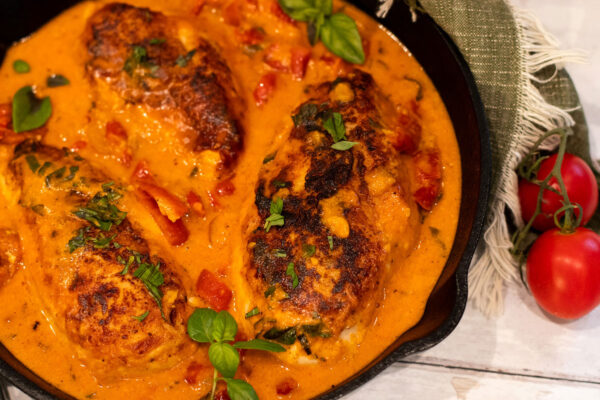
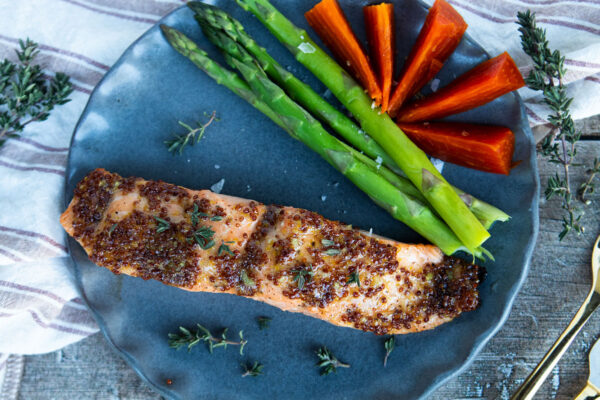
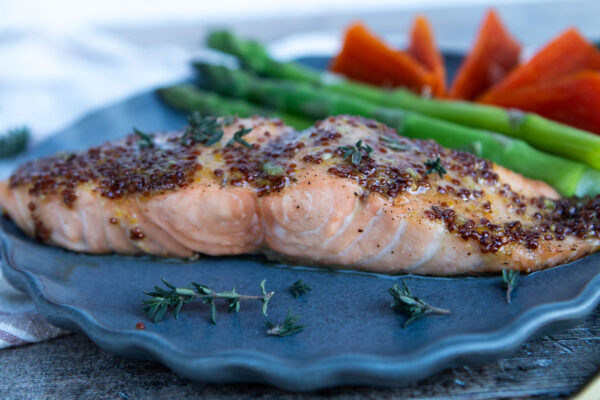
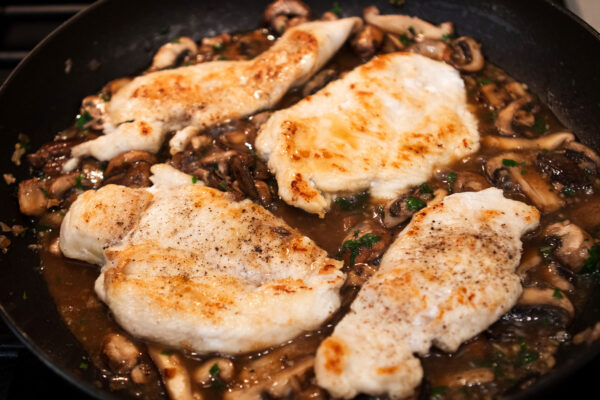
Slice the tenderloin into 1/2- to 1-inch slices. Transfer to a serving platter and drizzle with the sauce or serve the sauce on the side.
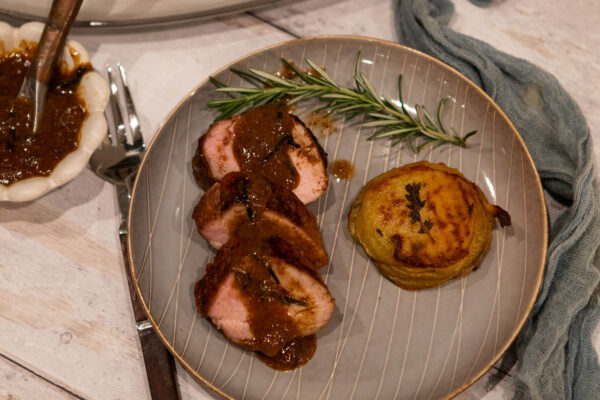
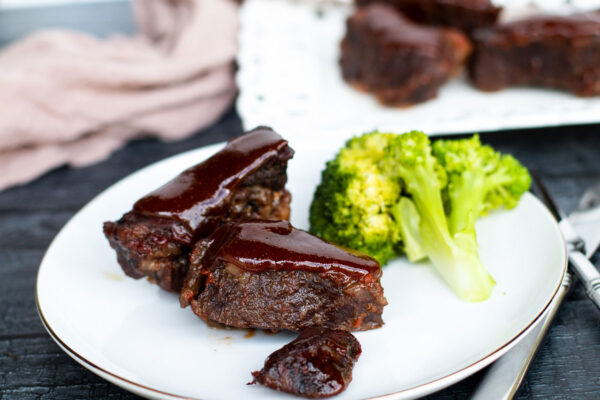
Serve this pork with roasted sweet potatoes or on top of mashed potatoes, drizzled with the yummy sauce and served with a simple green salad.
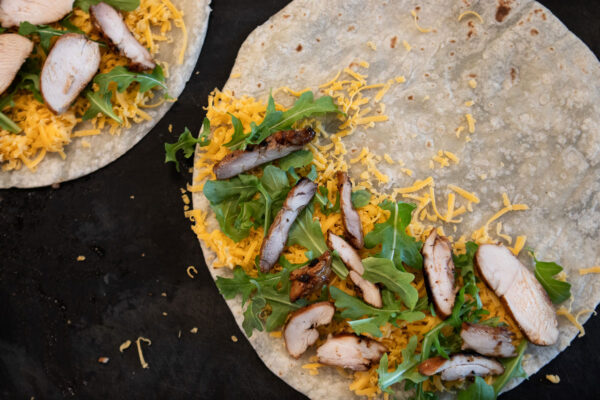
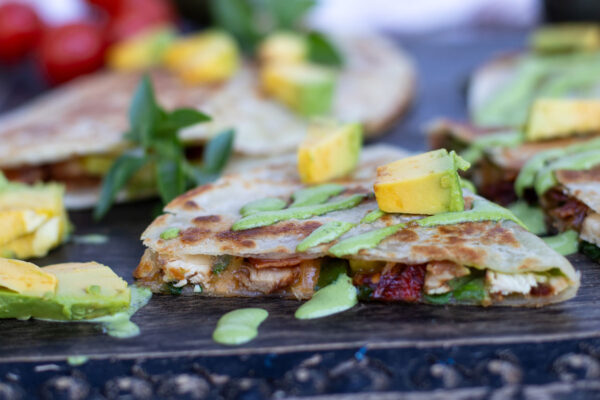
I like to slice any leftovers thinly and use it to make toasted sandwiches layered with cheese on focaccia or artisan bread. Delicious!
Recipe from The Cafe Sucre Farine