Ingredients
Focaccia Dough:
- 2 cups (300 g) bread flour
- 2 cups (300g) all-purpose flour
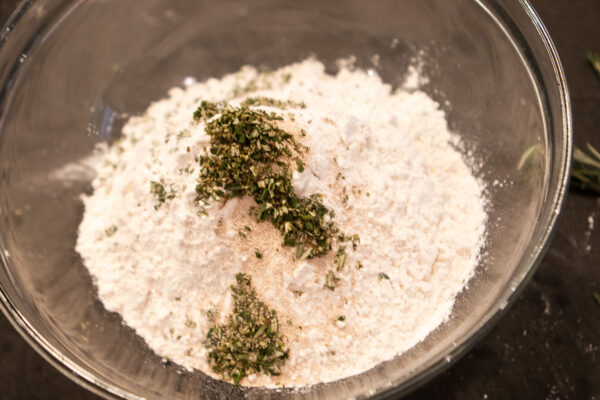
- 2 & 1/2 tsp kosher salt
- 2 tsp instant yeast
- 1 tsp sugar
- 1 tbsp plus 1 tsp extra-virgin olive oil
- 3 & 1/4 cups lukewarm water
- extra oil for greasing the dough and pan
Caramelized Onion & Potato Topping:
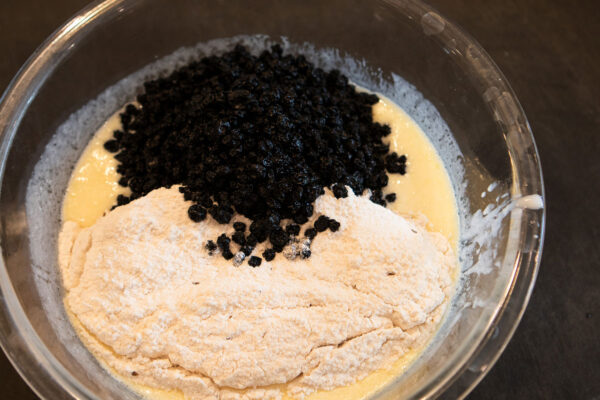
- 1 & 1/2 pounds onions sliced and caramelized per this recipe
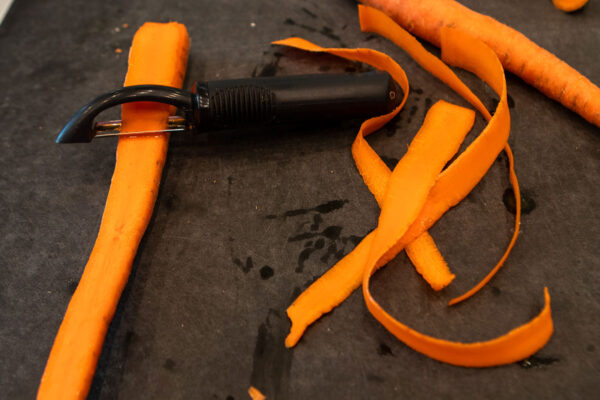
- 2 ounces yellow potato, very thinly sliced
- 1/2 tbsp olive oil
- 1 tsp fresh rosemary, chopped
- Salt & freshly ground pepper to taste
Instructions
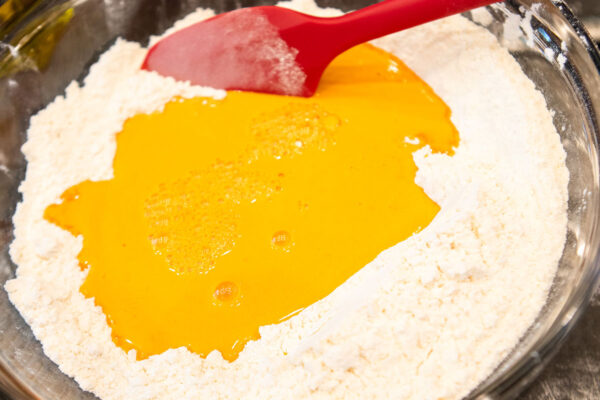
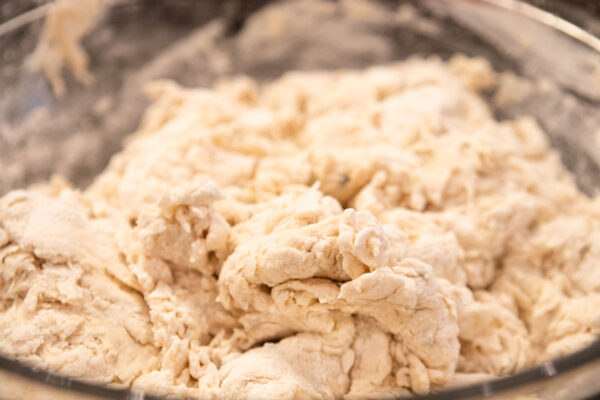
In a large bowl, combine the bread flour, all-purpose flour, Kosher salt, yeast, and sugar. Add the olive oil and water, and mix with a spatula until a shaggy dough forms and there are no dry parts. The dough is wet and sticky. This is normal. The water quantity is correct. This is normal. Super wet dough equals super fluffy focaccia. Cover the bowl with a tea towel and leave to stand for 5 minutes.
Perform a set of stretch and folds on the dough. To do this, wet your hands, then take a section of the dough and stretch it up and fold it onto itself. Rotate the bowl 90° and repeat the process. Repeat this two more times until you have gone around the bowl, then do one more set of four stretch and folds around the bowl (a total of 8 stretch and folds). Cover the bowl with the tea towel and leave to sit for 2 minutes.
Repeat the stretch and folding and resting process two more times, for a total of three rounds of stretch and folds, each two minutes apart.
Drizzle the surface of the dough with a little olive oil, and turn the dough over in the bowl to coat. Cover the bowl with plastic wrap or a lid (to make sure it doesn’t dry out), then place in the fridge overnight, a minimum of 12 hours but up to 2 days. (see sample schedule in body of the post for instructions on alternative rising).
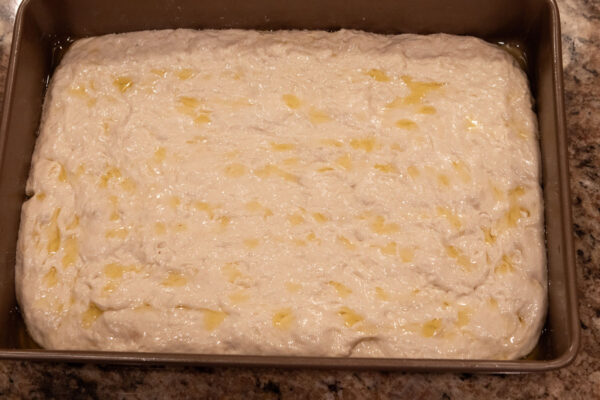
Generously drizzle a 9″x13″ nonstick baking pan with olive oil. (see notes on using a pan that isn’t nonstick). Turn the risen dough out into the pan and turn it to fully coat it in the oil. Shape into a rough rectangle shape by pressing it down with your oiled fingers and tucking edges and corners in if needed. Leave to sit for 5 minutes to relax.
Gently spread the dough toward the edges of the pan using your oiled fingers. It does not have to reach all the way; just encourage it to spread out slightly more. Drizzle the surface of the dough with a little more olive oil so that it does not dry out.
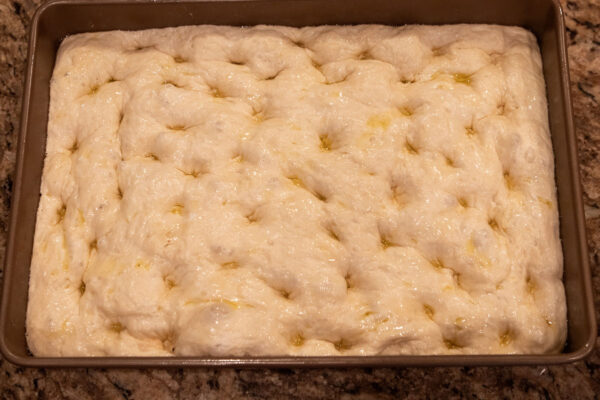
Leave the pan in a warm spot, uncovered, to rise, until doubled in size, puffy, and jiggly, anywhere from 2 to 4 hours depending on your environment. When it is ready to bake, it will leave a small indentation that slowly springs back when gently pressed with a finger. Toward the end of the rising process, preheat the oven to 450°F, and arrange a rack in the middle of the oven.
Oil your fingers and use them to dimple the dough all over, pressing your fingers almost to the bottom of the pan. Bubbles will form in the dough – do not pop them, just leave them be.
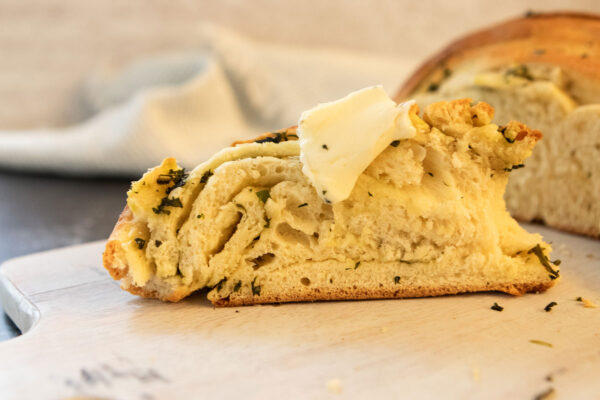
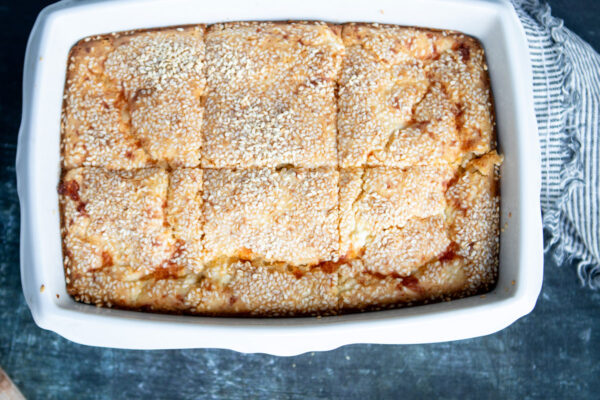
Toss potatoes with olive oil, rosemary, salt, and pepper. Spread the caramelized onions over focaccia and then top with the potato mixture.
Immediately transfer to the oven and bake for 25 to 30 minutes, or until golden brown on the surface and pulling away from the sides of the pan.
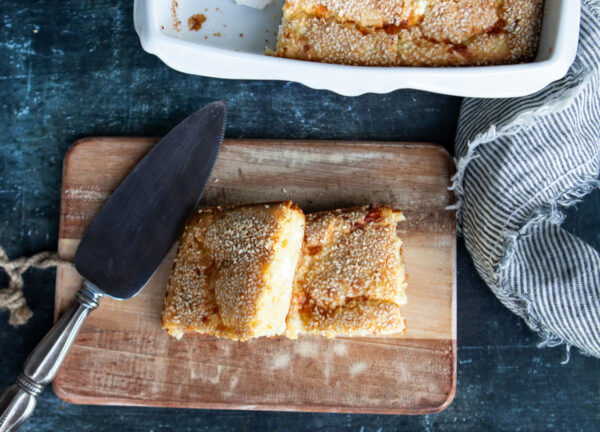
Remove from the oven and allow to stand for 5 minutes then remove from pan and transfer to a wire rack to prevent the bottom from getting soggy.
Leave to cool then slice into pieces using a bread knife. Store leftovers lightly wrapped at room temperature.
Chef’s Notes:
There are a bunch of different ways of making this focaccia dough, with cold and room temperature rises. The options you have after making the dough are:
Refrigerator first rise and room temperature second rise – This is my preferred method for making focaccia and the one that I have written in the recipe. Make the dough and then place it in the fridge for at least 12 hours, and up to two days. Then, transfer to the pan and do the second rise at room temperature. This will take anywhere from about 2 hours to up to 3 ½ to 4 hours. You need to watch the dough carefully. 3 hours seemed to be the sweet spot for me when testing.
Room temperature first rise and refrigerator second rise – This is a great option if you need the focaccia earlier the next day and don’t have time to wait for it to take 3 hours to rise. Do the first rise at room temperature (about an hour and a half). Then, transfer the dough to the pan, cover with plastic wrap, and place into the fridge overnight. The next day, pull the dough out from the fridge and leave to stand on the counter while the oven preheats, just to warm the dough slightly before dimpling, topping, and baking.
Room temperature first rise and room temperature second rise – The first rise will take about an hour to an hour and a half. Then transfer the dough to the pan and do a second rise, which should take anywhere between 40 minutes to an hour. Preheat the oven soon after putting the dough into the pan to ensure that it is ready when you are ready to bake.
Recipe by Cloudy Kitchen