Baking Tips
- May 29, 2021
- 0 / 5
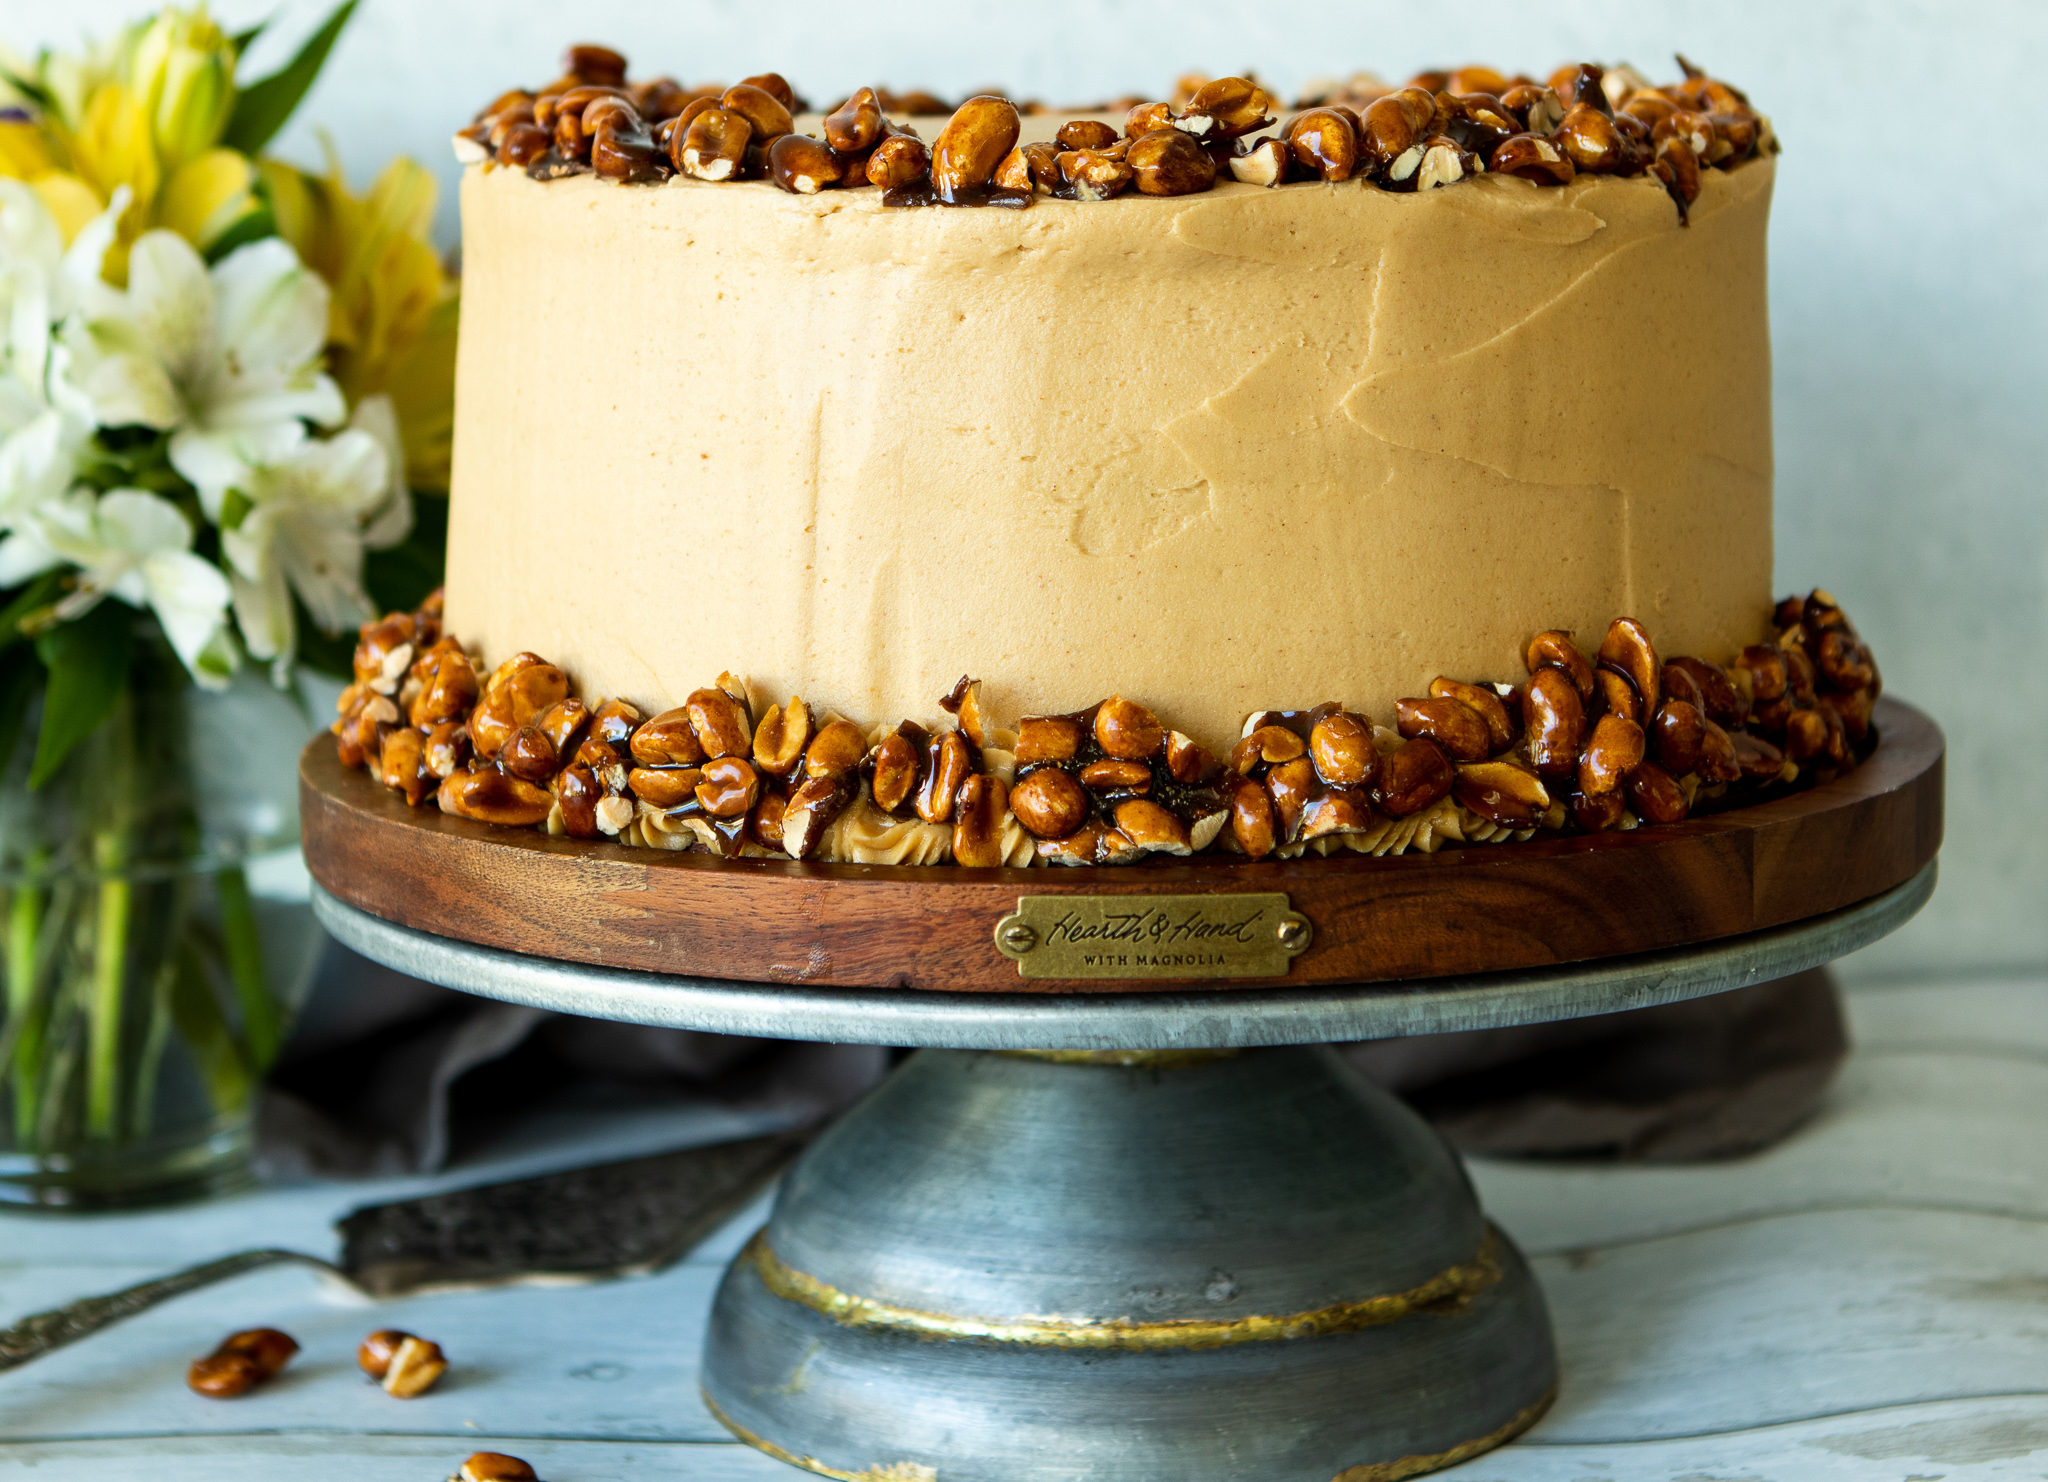
There are so many things to think about when it comes to baking. If you’ve been baking for a long time, these things are instinctual. You’ve done them forever and you don’t give them a second thought.
But, if you’re new to baking or don’t do it often, some things are daunting. Or you have simply forgotten.
I am providing some tips and hacks that I have found invaluable when I decide it’s time to bake up some goodies.
I will continue to add tips, so check back often!

Measuring Flour:
If you don’t have a digital scale, or the recipe is not given in grams, to get the most accurate weight, take a butter knife through your flour in a circular motion three times (I like to keep flour in an air-tight container large enough to get a one-cup scoop into it). Then, dip the measuring cup into it and use that same knife to level off the top, trying not to tap it down.
One mistake in baking generally comes from too much flour, so don’t be nervous if a recipe is shown in grams, Get a digital scale (very inexpensive) and weigh it. Then you will be very accurate.
Cake Flour Substitute:
Often, cake flour is a low-protein flour that has been milled into a fine consistency. It is called for in recipes to make soft, tender baked goods like cakes, pastries, or biscuits.
It can be difficult to find, or if you just don’t feel like going to the store, you can make your own but measuring out one cup of all-purpose flour. Then, scoop out 2 tablespoons of the flour and replace it with 2 tablespoons of cornstarch. If the recipe calls for two cups of flour, just double the recipe I’m giving you here, and so on. Sift this flour-corn starch mixture twice. This is very important: the sifting will incorporate the cornstarch to create the consistency of cake flour.
Buttermilk Replacement:
For each cup of buttermilk, combine 1 cup of whole milk with either: 1 tablespoon lemon juice OR 1 tablespoon apple cider vinegar OR 1 3/4 teaspoons cream of tartar. Whisk together and allow to sit for 5 minutes. Once the mixture has a slightly curdled consistency, it is ready to use! Be sure to use only ONE of the three options.
Room Temperature Ingredients:
It is very important to have butter, milk, sour cream, eggs, cream, etc. at room temperature prior to baking. Don’t skip this! There is science to this: when these ingredients are at room temperature they form an emulsion which traps air. That makes for a lighter finished product. As well, room temperature ingredients bond together very easily creating an evenly textured batter. A smooth batter will result in a uniformly textured baked good.
Room temperature butter is very important! I used to pop it in the microwave until it was a little soft and then use it, but this is a no-no. Usually, the middle was completely melted, which will give you an unwanted result. The best way to get room temperature butter is to leave it on the counter for an hour before you’re going to use it. If you can’t, I have found that if I take 2 cups of water and microwave it to boiling (2 minutes), then let my butter sit in the same microwave with the water, it will speed up the softening process. You can also cut the butter into chunks to help it soften faster on the counter.
Bringing Eggs to room temperature is very easy. If you forget to let them sit on the counter for an hour or so, just put them in a bowl with warm water for 10-15 minutes.
For milk and heavy cream, I often use the microwave, but start at 20 seconds at a time. The last thing you want is boiling liquid to go into your batter.
All of your other ingredients, such as yogurt, sour cream, cream cheese, etc. really need to sit on the counter.
Buttercream Coloring:
In order to get deep colors, such as the red and blue above, it takes a lot of food coloring. Unfortunately, that can stain your teeth when you eat it and can sometimes change the texture of the buttercream. Instead, try mixing these colors and then let them sit for a few hours so that the colors can deepen.
To get a red buttercream, start by adding about three drops of soft pink food coloring to your white buttercream. Stir well. Next, add about a teaspoon of true red food coloring. Then, once you’ve mixed the buttercream so that no streaks of food coloring remain, cover the buttercream and let it sit at room temperature for a few hours.
For the navy blue buttercream, repeat the above process using 3 drops of magenta or violet food coloring. Once mixed, add one teaspoon of navy food coloring. Once mixed well, cover and let sit on the counter for a few hours so that the colors intensify.



Leave a Review