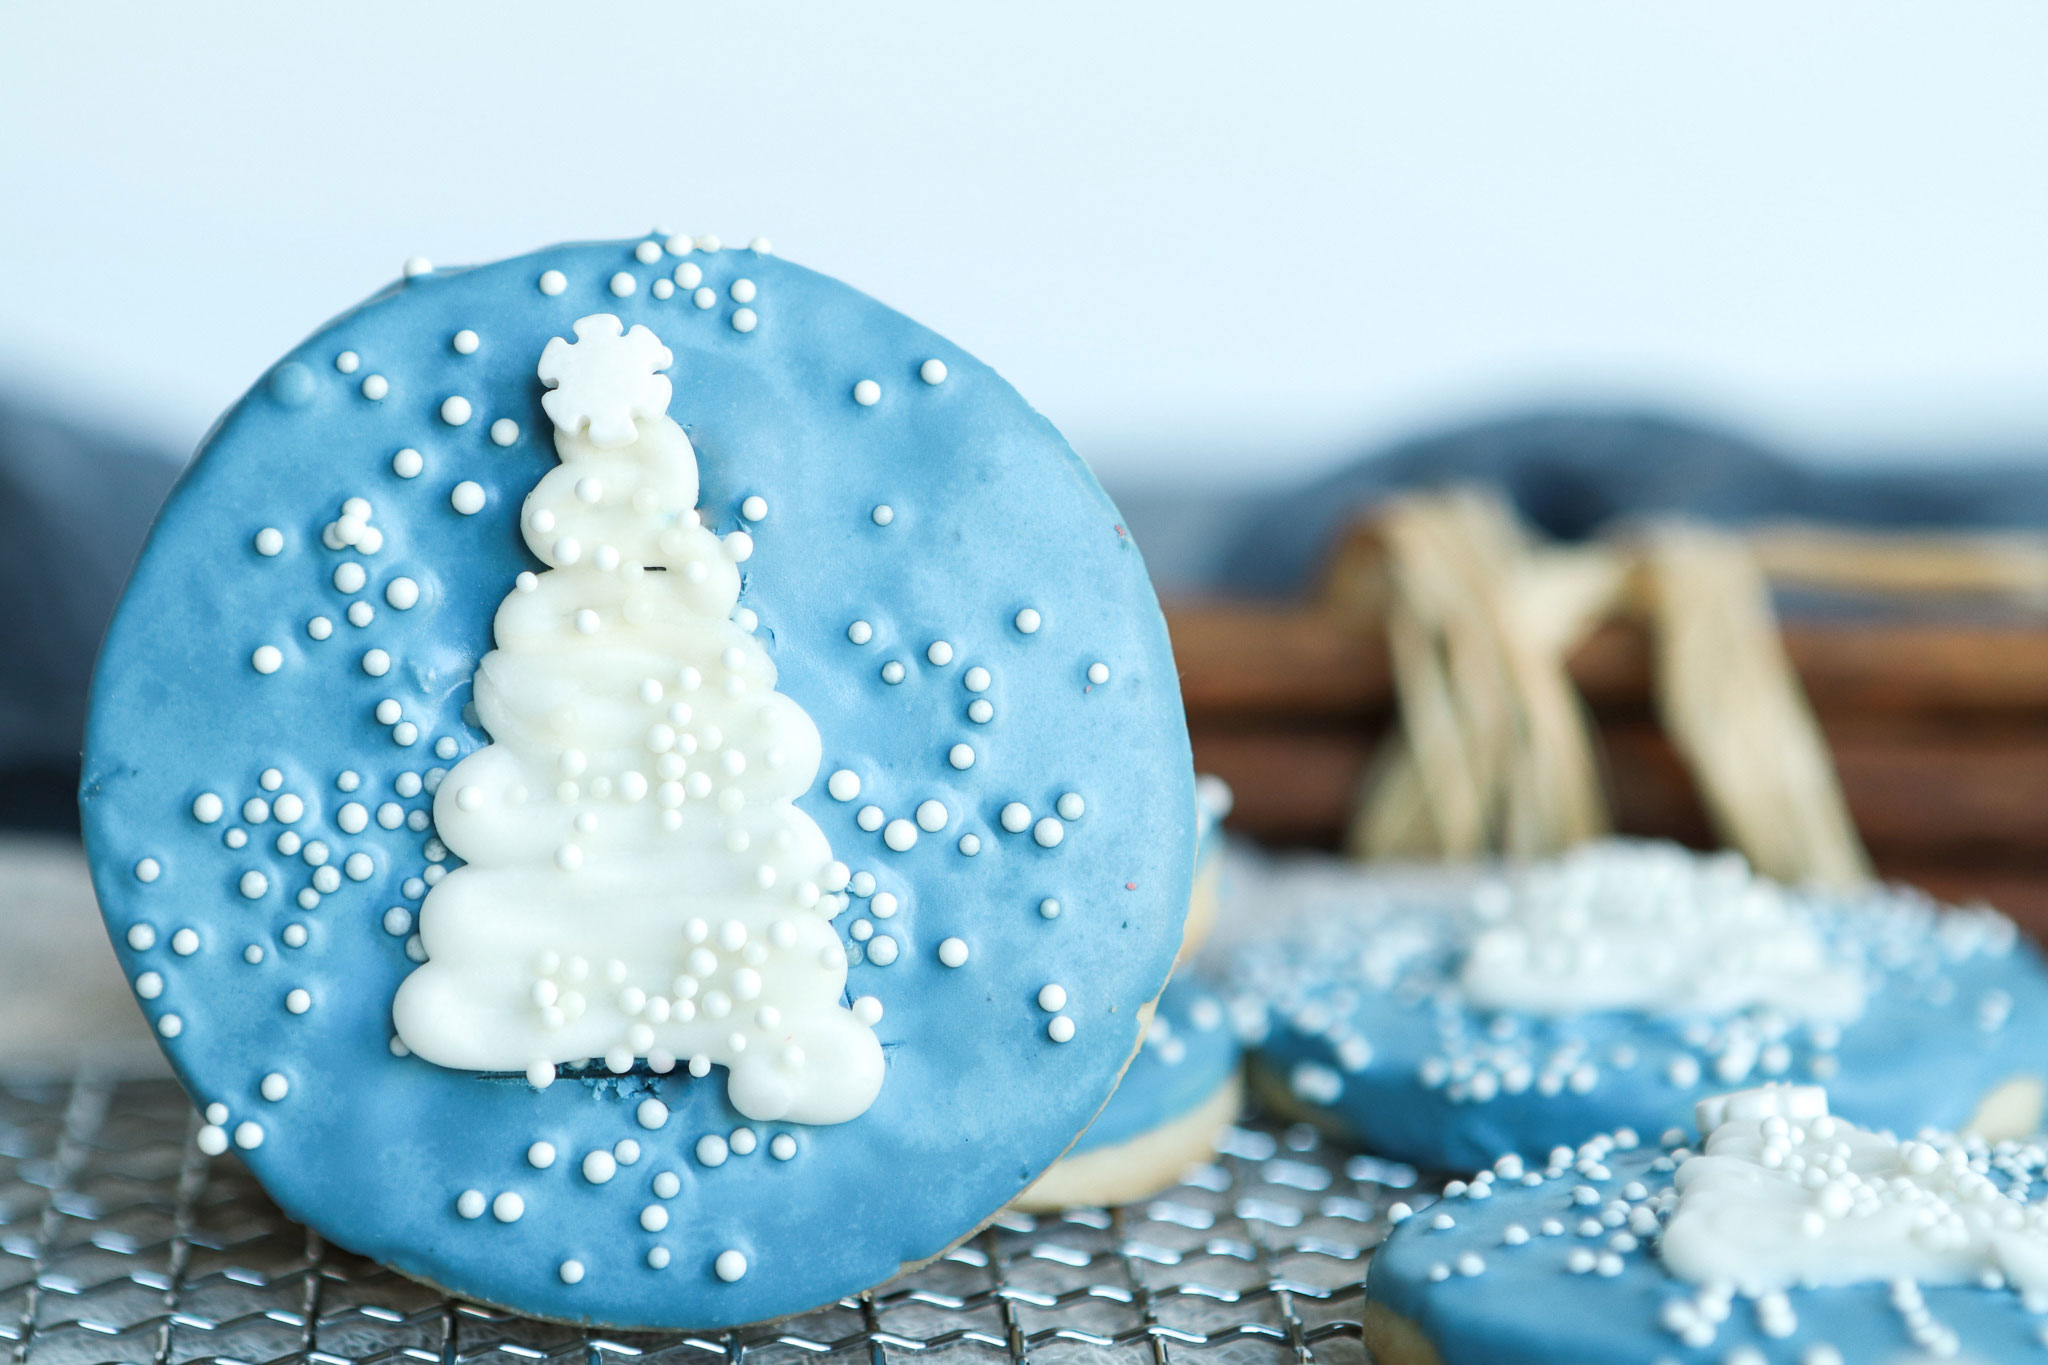
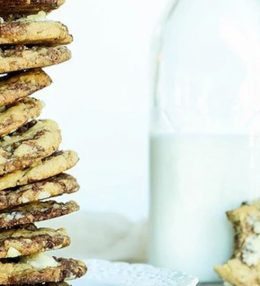
There are so many reasons to bake Christmas Tree Shortbread Cookies at this time of the year: cookie exchanges, teacher gifts, hostess gifts, cookie baskets, dessert buffets…the list is endless. So I say, “Bring it on”! Decorated cookies are one of my favorites to make because well, they are just so pretty.
But, they take so darn long to make!!! And, who has time at this busy season?Imagine how happy I was when I discovered this recipe, from Cafe Sucre Farine, and realized that they don’t have to take forever. This is an easy cookie recipe that is buttery and delicious.
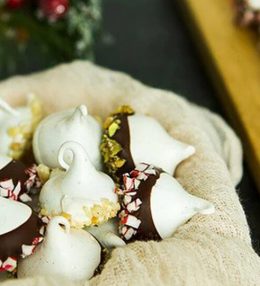
The frosting is an easy peppermint royal icing and the buttercream for the Christmas tree is a one bowl, no-big-deal recipe. In fact, this entire recipe doesn’t even require breaking out the mixer! Bam!
I have added some photos to help you with these cookies; I hope you will give them a go!
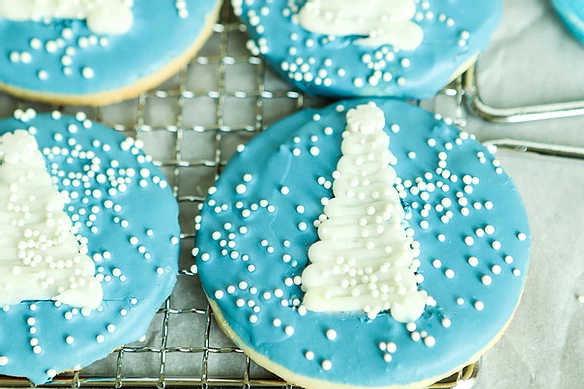
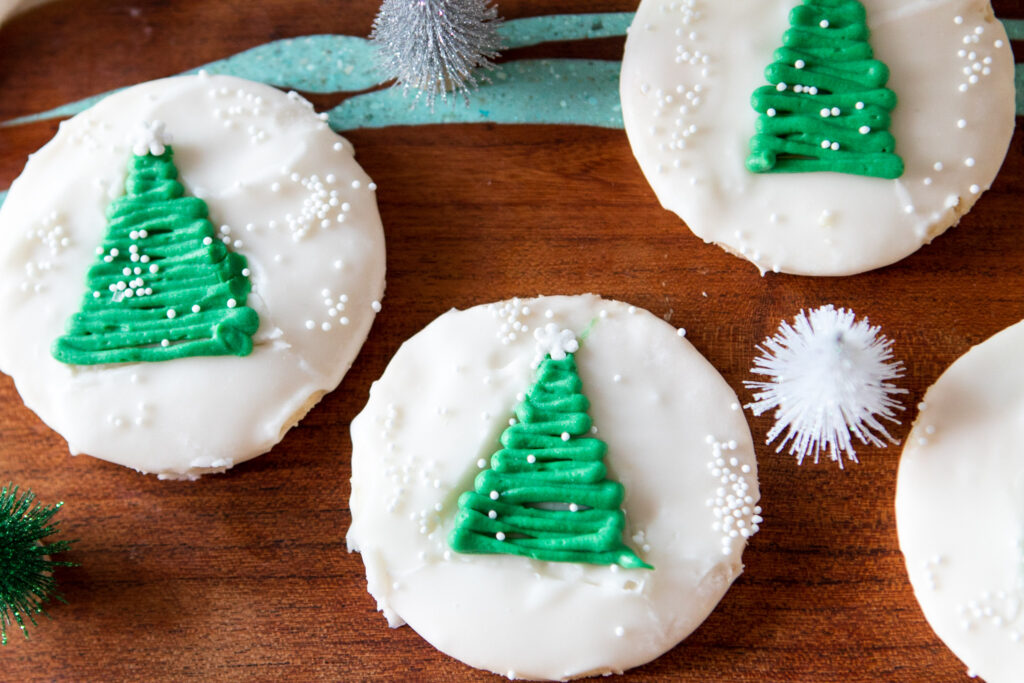
The color is a little off on these photos, so bear with me. The correct color I was striving for is in the top two and bottom photos.
Share Your Thoughts...
Lastly, if you make Christmas Tree Shortbread Cookies, be sure to leave a comment and/or give this recipe a rating! Above all, I love to hear from you and always do my best to respond to each and every comment. And of course, if you do make this recipe, don’t forget to tag me on Instagram! Looking through the photos of recipes you all have made is one of my favorite things to do!
Line 2 sheet pans with parchment paper. Set aside.
Place soft butter and salt in a medium-size mixing bowl. Stir with a wooden spoon or sturdy spatula until nice and smooth. Add powdered sugar and vanilla. Mix together by hand for about 30 seconds, until fluffy and well blended.
Sprinkle the flour and cornstarch evenly over the top. Stir until flour is incorporated and the dough is shaggy. Turn out onto a lightly floured surface and press dough in a ball. Knead a few times until fairly smooth then form into a ball again and press with your hands into a flat disk.
On a lightly floured work surface, roll out dough to a 3/8-inch thickness. I love this rolling pin! Keep work surface, dough and rolling pin lightly dusted with flour. Cut circles and place on prepared pans. Re-roll scraps as many times as needed to use up the dough. Place cutouts in the refrigerator for at least one hour or up to 24 hours.
When ready to bake, preheat oven to 350˚F. Remove cookies from refrigerator and bake for 12-16 minutes or until just beginning to turn golden at the edges. Rotate pans halfway through for even browning. Cool completely before icing.
Make the Mint Glaze:
Combine powdered sugar, half-and-half and 1/4 teaspoon peppermint extract in a medium-size bowl. Mix until smooth. The glaze should be thick but pourable. Add a little more half-and-half if too thick. Taste the glaze and add more peppermint extract, if needed.
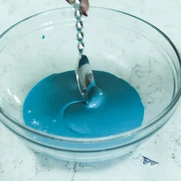
Dip the tip of a small knife into the blue food coloring and swirl some of it into the icing. Stir well and add more food color until desired shade of blue is achieved. Transfer the glaze to a shallow bowl.
To Glaze the Cookies:
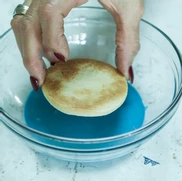
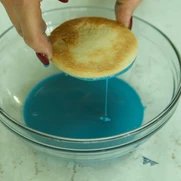
Holding onto the edges of a cookie, dip the top surface into the glaze, being sure all of the surfaces touches the glaze. Pull cookie up and out of the glaze. Allow excess glaze to drip back into a separate bowl. When glaze stops dripping, quickly flip the cookie right side up and give it a gentle jiggle to allow the glaze to flow evenly over the surface. Repeat with remaining cookies. Allow glaze to dry for 30 minutes.
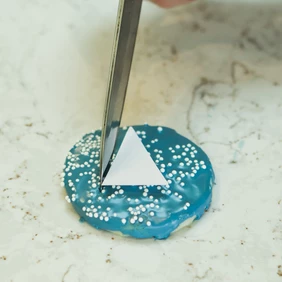
Make a Christmas tree cut-out from stiff paper (see above photos). Place the cutout over the middle of the cookie, and with a sharp knife, trace an outline of the cookie. This will help to keep the trees looking uniform.
For the Buttercream Piping:
Place butter in a medium-size bowl and stir until smooth. Add powdered sugar, 1 1/2 tablespoons half-and-half and mint extract and stir vigorously until smooth, adding a bit more half-and-half if needed to achieve a fairly thick but smooth consistency.
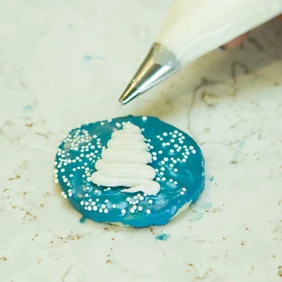
Place buttercream in a pastry bag fitted with a small round icing tip (I used a Wilton #4 round tip). Starting at the upper edge of one cookie, pipe the Christmas trees by making lines that are increasingly wider, following the outline that you previously made, stopping about 1/4-inch above the lower edge of the cookie (see pictures above). Immediately sprinkle trees with a few more white nonpareils. Set aside to dry.
Chef’s Note:
Once cookies have been dried for several hours, they can be stacked in an airtight container.


Leave a Review