Vanilla Mini Heart Cakes (Vegan)
- February 7, 2024
- 0 / 5
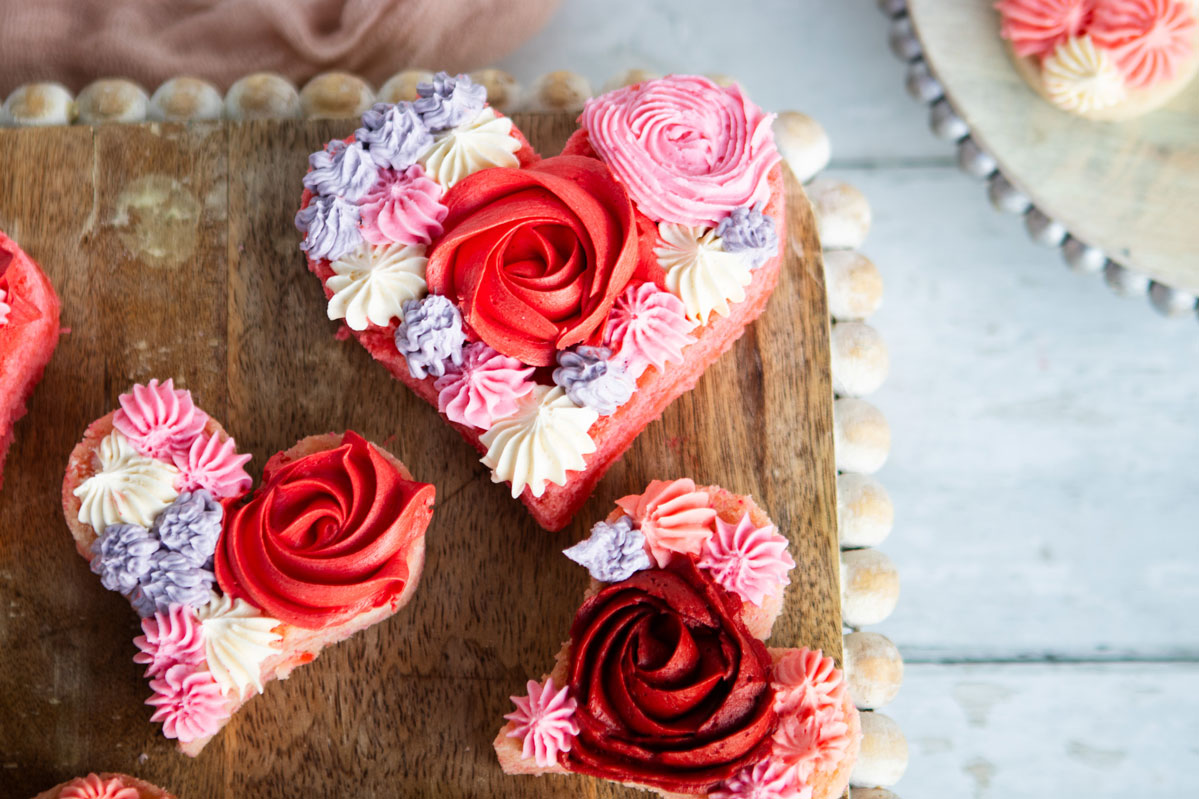
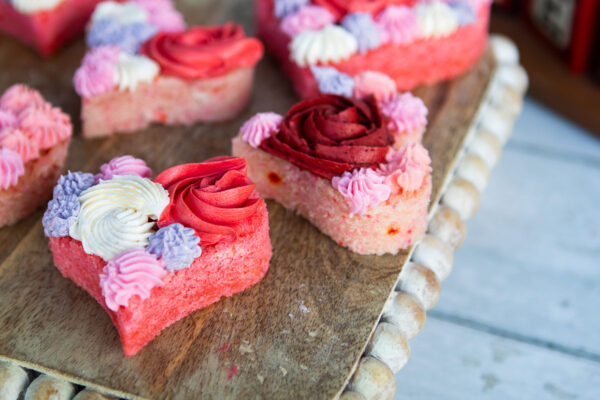
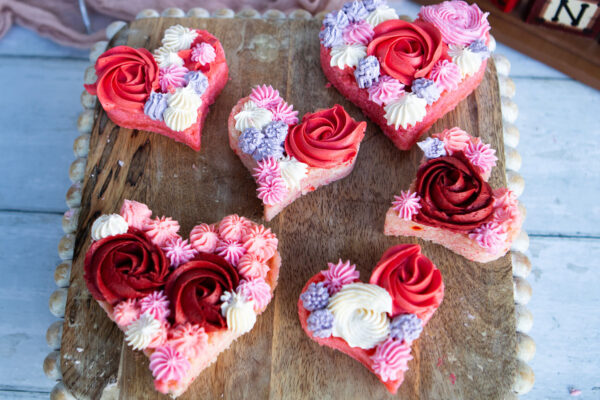
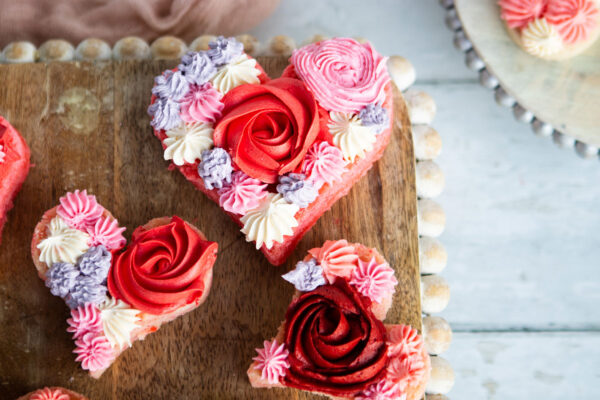
Vanilla Mini Heart Cakes are a joy to make and serve this Valentine’s Day. The lovely vanilla flavor of the cake and buttercream along with the pretty shape and decorations creates a whimsical way to celebrate this love-filled holiday!
The fact that they are also vegan is a plus, especially since anyone would be hard-pressed to tell the difference. I have concluded that it’s easier to just not tell anyone they are vegan…there’s a bit of nose-crinkling from non-vegans and if they just don’t know, they have no issue with it. Go figure!!
These are fun to make with kiddos as well! Have them cut the cakes into heart shapes, have them color the buttercream and have them try to make rosettes, stars, dots or whatever. It will occupy them for hours!
To make the cake, stir together the vinegar and soy milk and set aside. Sift together the cake flour, baking powder and salt and whisk. Set aside.
Let’s talk about aquafaba. This is what will replace eggs in many vegan recipes. Aquafaba is the liquid that is in a can of chickpeas. When you drain the chickpeas and whisk the liquid, it becomes foamy and provides a lightness to the baked goods as well as binding the dry ingredients together.
Cream the vegan butter with granulated sugar and then add aquafaba and vanilla extract. Gradually add in the cake flour mixture and then the soy milk mixture and food coloring and mix until just combined.
Pour the batter into the cake pans and bake for about 30 minutes. Let the cakes cool before frosting them.
For the buttercream, beat the butter until it’s creamy and light in color. Add the powdered sugar and then the vanilla and milk.
Divide the buttercream into bowls and use food gel coloring to tint the white buttercream. Transfer the buttercream to piping bags fitted with tips 1M, 4B and 32.
To assemble, use heart-shaped cutters to cut the cakes into mini shapes. Use tips 1M, 4B and 32 to pipe swirls, rosettes and stars on the cakes as desired.
Share Your Thoughts...
Vanilla Mini Heart Cakes (Vegan)
Makes: 12 cakes
Prep Time: 25 minutes
Bake Time: 35 minutes
Total Time: 1 hour plus cooling time 1 hour
Ingredients
Vegan Vanilla Cake:
- 1 & 1/4 cups unsweetened soy milk, room temperature
- 1 tbsp white vinegar
- 2 & 3/4 cups (290g) cake flour, sifted before measuring (see Chef’s Notes)
- 1 tbsp baking powder
- 1/2 tsp salt
- 1/2 cup aquafaba (see Chef’s Notes)
- 1 cup vegan butter, room temperature (I use Earth Balance sticks)
- 1 & 3/4 cups white granulated sugar
- 1 & 1/2 tbsp pure vanilla extract
- Pink food gel coloring
Vegan Buttercream:
- 1 cup vegan butter, softened to room temperature
- 3 & 1/2 cups powdered sugar
- 2 tsp pure vanilla extract
- 1 tbsp unsweetened dairy-free milk, room temperature
- Pink, red, purple food gel coloring
Instructions
Preheat the oven to 350°F. Prepare two 9-inch cake pans by spraying the sides with a cooking spray and a wax paper circle fitted to the bottom of the pan. Alternatively, you can grease and lightly flour the pans.
Stir together the white vinegar and soy milk and set aside. Sift the cake flour and then measure by spooning and leveling it in your measuring cup. Add the cake flour, baking powder, and salt into a bowl and whisk to combine. Set aside.
Pour the juice from a can of chickpeas into a medium sized bowl (either discard the actual chickpeas or store them to use in another recipe). Whisk the juice vigorously for one minute, after which it will look foamy. Set aside.
In the bowl of your stand mixer or handheld mixer, cream the vegan butter with the white granulated sugar for two minutes on medium-high, scraping down the bowl and paddle once in between. Measure out 1/2 cup of the aquafaba (you can discard the rest) and add it along with the vanilla extract. Mix on medium for one minute. The mixture may look curdled at this point, but don’t worry…it will all come together in the next step.
With the mixer on low speed, add in the dry ingredients and mix until just combined, then add the soy milk mixture in a steady stream and mix until just incorporated. Scrape down the sides and bottom of the bowl and give it a few more stirs to combine (without over-mixing). A few lumps are ok. The batter will be slightly thick, but pourable.
Pour batter evenly into prepared cake pans (no more than 2/3 of the way full) and bake for 30-35 minutes. They’re done when they spring back to the touch and a toothpick inserted into the middle comes out clean. Let the cakes cool in the pan for five minutes before turning them out onto a wire rack for an additional few hours of cooling. Make sure they’re entirely room temperature before applying any frosting.
Vegan Buttercream:
With a hand mixer or paddle attachment on your stand mixer, cream the vegan butter on medium-high until it’s creamy and light in color, about 7 minutes.
With the mixer on low, add the powdered sugar one cup at a time, scraping down after each addition and making sure each cup is fully incorporated before adding the next one.
Add the vanilla and unsweetened dairy-free milk and mix on low for another minute until fully incorporated.
Assembly:
Using heart shaped cookie cutters, cut out mini heart shapes from the cakes. Depending on the size of the cutters, you should get at least 6 cakes per 9-inch round.
Color the buttercream to your liking and using tips 1M, 32 and 4B, pipe rosettes and stars on the top of the mini cakes. Serve!
Chef’s Notes:
DIY Cake Flour Recipe: To make your own cake flour, spoon and level one cup of all-purpose flour and remove 2 tbsp. Add 2 tbsp of cornstarch. Repeat per the amount of cake flour you need, then sift the flour and cornstarch mixture 4 times (don’t skip that step!). After sifting, spoon and level to re-measure the amount of cake flour you need.
Aquafaba: the juice from one 15.5oz can of chickpeas (aka garbanzo beans) is perfect. Note that you’ll only use 1/2 cup of it in the recipe once prepared. Please read the paragraph about aquafaba in the body of this blog post if you’re unsure of what it is or why it’s used.
To Make Ahead: These cakes can be baked, cooled, wrapped in plastic wrap, and left out at room temperature up to two days ahead of decorating. Unfrosted cake layers can be wrapped tightly in plastic wrap and stored in the freezer for up to two months before thawing and frosting.
Recipe by Sugar & Sparrow

 Maple Aleppo-Glazed Salmon with Crispy Rice h

 Rich dark chocolate and creamy peanut bu


 Italian Charcuterie Sushi Rolls…what th


 Perfect for Game Day, this Sweet an

 Grilled Honey Mustard Chicken with Peach
Leave a Review