Red Velvet Pan-Banging Cookies
- December 19, 2024
- 0 / 5
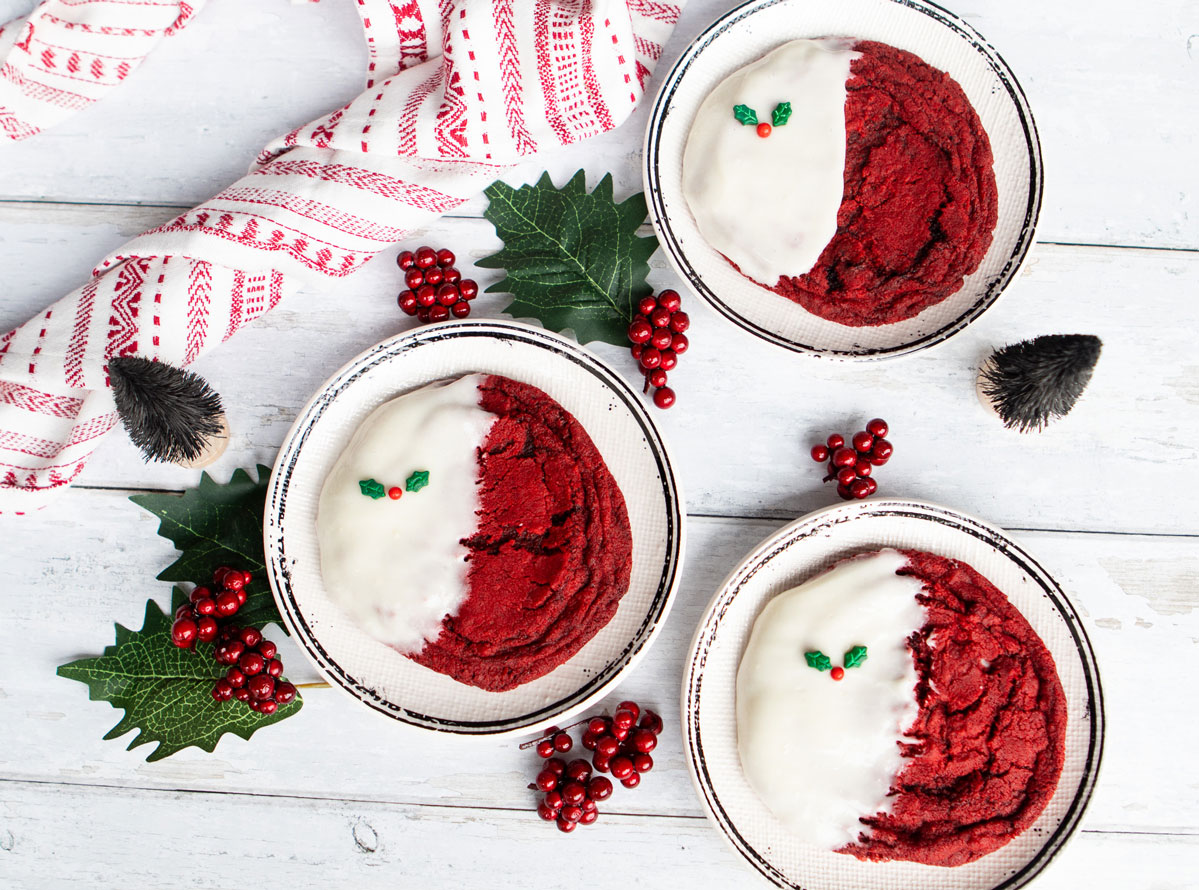
Who doesn’t love Red Velvet Pan-Banging Cookies? Just the idea of a deep red cookie that you can bang around (as opposed to care that is needed for fancy iced cookies) makes me happy at this time of the year.
I never quite figured out red velvet. I always felt that the color was strange, the flavor was a little weird, and I just didn’t get the appeal! Until I discovered that it’s really a milk chocolate batter that’s been tinted red. Now, when I eat them, I can taste the chocolate more than I see the color, if that makes sense!
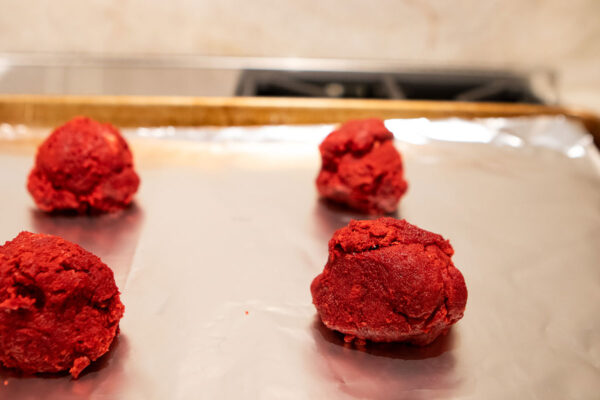
To make the cookies, beat the butter with sugar in the bowl of a mixer. Once combined, add the egg and follow that with the cocoa powder, red food coloring and vanilla. Add the dry ingredients and mix until incorporated.
Form the dough into 3-ounce balls. This makes very large cookies. You can also make smaller cookies but the large ones are very striking-looking!
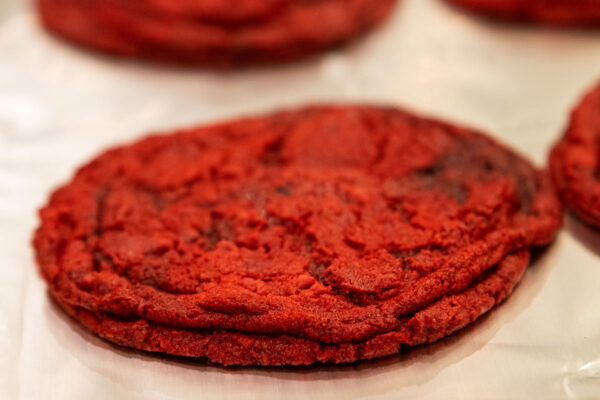
Place 4 cookies on each sheet and bake for 8 minutes. Then, lift up one end of the pan and bang it down on the oven rack (all of this is done in the oven. If you are uncomfortable doing that, you can pull the pan out onto the cooktop and bang it there.) Let it bake for two more minutes, and bang again. Repeat this two more times for a total of 4 bangs and 14 minutes.
You want the edges to be set and the middle of the cookie to look uncooked. It will continue to cook as it cools. Cool completely and then decide which icing you’d like to use.
The icing featured in these photos is a cream cheese-based icing. It is reminiscent of red velvet cake that has a cream cheese frosting. I love it! My only caveat is that it never gets fully hard. It stays a little tacky.
If you prefer one that gets hard so you can stack, ship them or store at room temperature (the cream cheese icing needs to stay in the refrigerator), try the white chocolate icing.
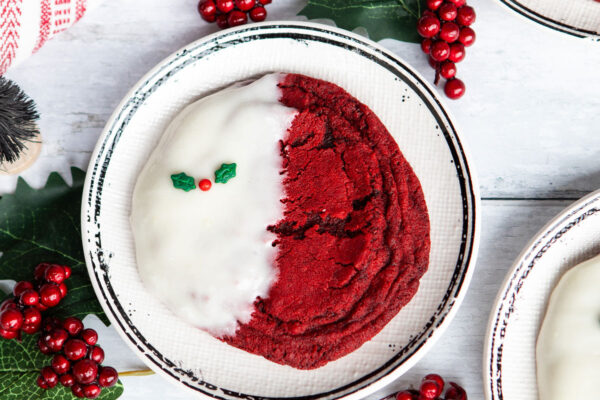
Once you’ve made the icing per the directions in the recipe, dip half the cookie into the icing and place the pretty holly sprinkles on top.

Share Your Thoughts...
Red Velvet Pan-Banging Cookies
Makes: 10 cookies
Prep Time: 25 minutes
Bake Time: 14 minutes per sheet
Total Time: 1 hour & 10 minutes
Ingredients
- 2 cups (284 g) all-purpose flour
- 1 tsp baking soda
- 3/4 tsp fine sea salt
- 1/2 tsp cream of tartar
- 1 cup (2 sticks) unsalted butter, at room temperature
- 1 & 1/2 cups granulated sugar
- 1 large egg
- 2 tbsp Dutch-process cocoa powder
- 1 tbsp red food coloring (I prefer gel-based)
- 1 tbsp pure vanilla extract
For the Icing:
- 3 ounces cream cheese, soft
- 1 tbsp unsalted butter, melted
- 2 to 4 tbsp water
- 1/2 tsp pure vanilla extract
- Pinch salt
- 1 to 1 & 1/2 cups confectioners’ sugar
- Holly sprinkles
Alternate White Chocolate Icing:
- 1 cup white chocolate chips
- 2 tbsp coconut oil
Instructions
Adjust an oven rack to the middle of the oven. Preheat the oven to 350°F. Line three sheet pans with aluminum foil or parchment paper (see Chef’s Note).
In a small bowl, whisk together the flour, baking soda, salt, and cream of tartar.
In the bowl of a stand mixer fitted with a paddle, beat the butter on medium speed until creamy, about 1 minute. Add the granulated sugar and beat on medium speed until light and fluffy, 2 to 3 minutes.
Add the egg and mix on low speed to combine. Add the cocoa powder, red food coloring, and vanilla, and mix again on low until combined. Use a spatula to scrape down the sides as needed and completely combine the food coloring into the batter. Add the flour mixture and mix on low speed until completely combined.
Form the dough into 3-ounce (85 g) balls. Place 4 cookies an equal distance apart on the sheet pans. Bake the cookies one pan at a time. Bake until the dough balls have spread out but are puffed slightly in the center, 8 minutes. Lift one side of the sheet pan up about 4 in [10 cm] and gently let it drop down against the oven rack, so the edges of the cookies set and the center falls back down. After the cookies puff up again in 2 minutes, repeat lifting and dropping the pan. Repeat a few more times to create ridges around the edge of the cookie. Bake for 13 to 16 minutes total, until the cookies have spread out and the edges are set and golden but the centers are not fully cooked.
Transfer the pan to a wire rack. Let the cookies cool for 10 minutes, then move them to a wire rack to cool completely before icing them.
For the Icing:
Melt the butter in a medium bowl. Add the cream cheese, 2 tablespoons of water, vanilla, and salt, and whisk to combine. Add 1 cup of the confectioners’ sugar and mix with a spatula to combine. Add more sugar as needed, until the desire consistency is reached. You want the icing to be thick but not too thick – it should be thin enough to cling to the surface when you dip the cookie into it. If your icing is too thick, you can add more water as needed to thin it out.
White Chocolate Icing (alternate):
Melt the white chocolate chips with the coconut oil in a microwave until smooth.
To assemble, dip half of a cooled cookie into the icing. Decorate with holly sprinkles or other decoration if desired. Let the icing set before serving.
Chef’s Notes:
I find that aluminum foil helps the cookies spread a bit more and creates a slightly crisper bottom. But parchment paper will work just as well, too.
Regarding the icing, it doesn’t set up completely. It will always be slightly tacky. Don’t refrigerate them prior to setting up or they will remain sticky. Let them sit on the counter for 2-3 hours and they should be just perfect!
While a cream cheese frosting is traditional, it isn’t recommended to store these on the counter. They need to be stored in a refrigerator. If you prefer a more stable icing than the traditional cream cheese frosting, try dipping the cookies in the white chocolate icing. It will harden and be better for transporting or stacking. You are able to store at room temperature.
Recipe from The Vanilla Bean Blog



 Fudgy Baked Chocolate Donuts are irresis


 Perfect for Game Day, this Sweet an

 Grilled Honey Mustard Chicken with Peach
 This gorgeous Lemon Cream Cheese Cake is ever


 These slightly charred Soy Sauce Pan-Fried No


Leave a Review