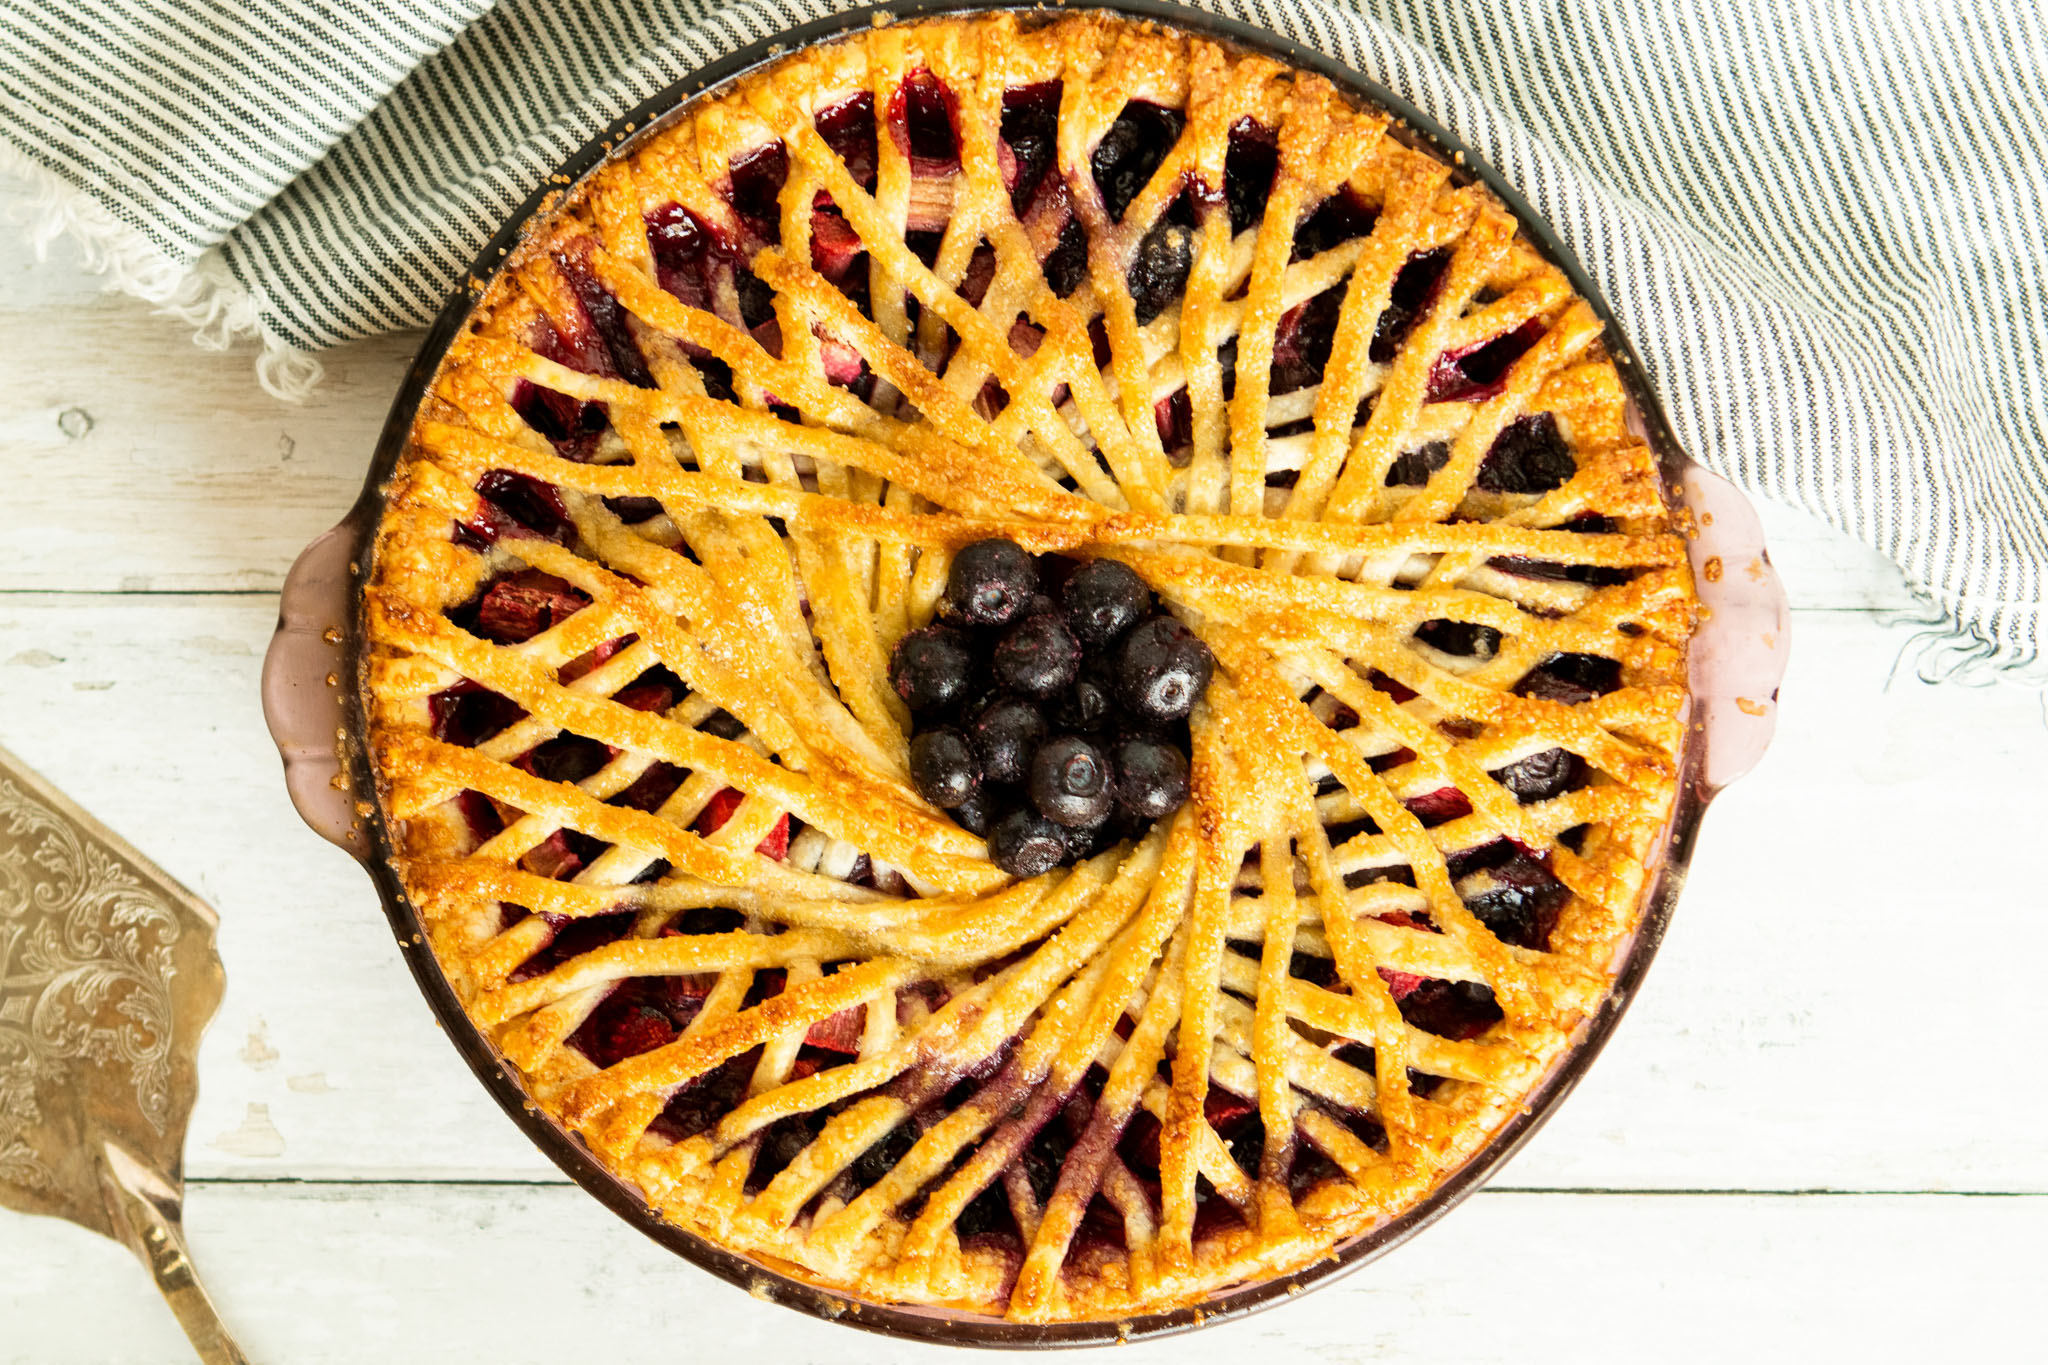
This gorgeous Blueberry Rhubarb Pie looks like something that you’d get at a boutique bakery. But, I want to tell you that if I can make this, you can make this! I am not the best pie maker, so I’m thrilled that the pie dough is very basic and quick, the filling is simple and delicious, and the spoke design (even though it will add an extra bit of time to the process) is easy to accomplish!
So, where to begin…how about the crust? This Basic Pie Dough recipe is handled primarily in the food processor. With some quick pulsing, you are ready to gather it up and send it to the refrigerator for a little down time. Once it has chilled out (yes, I really said that), it’s time to roll and cut the strips for the spokes.
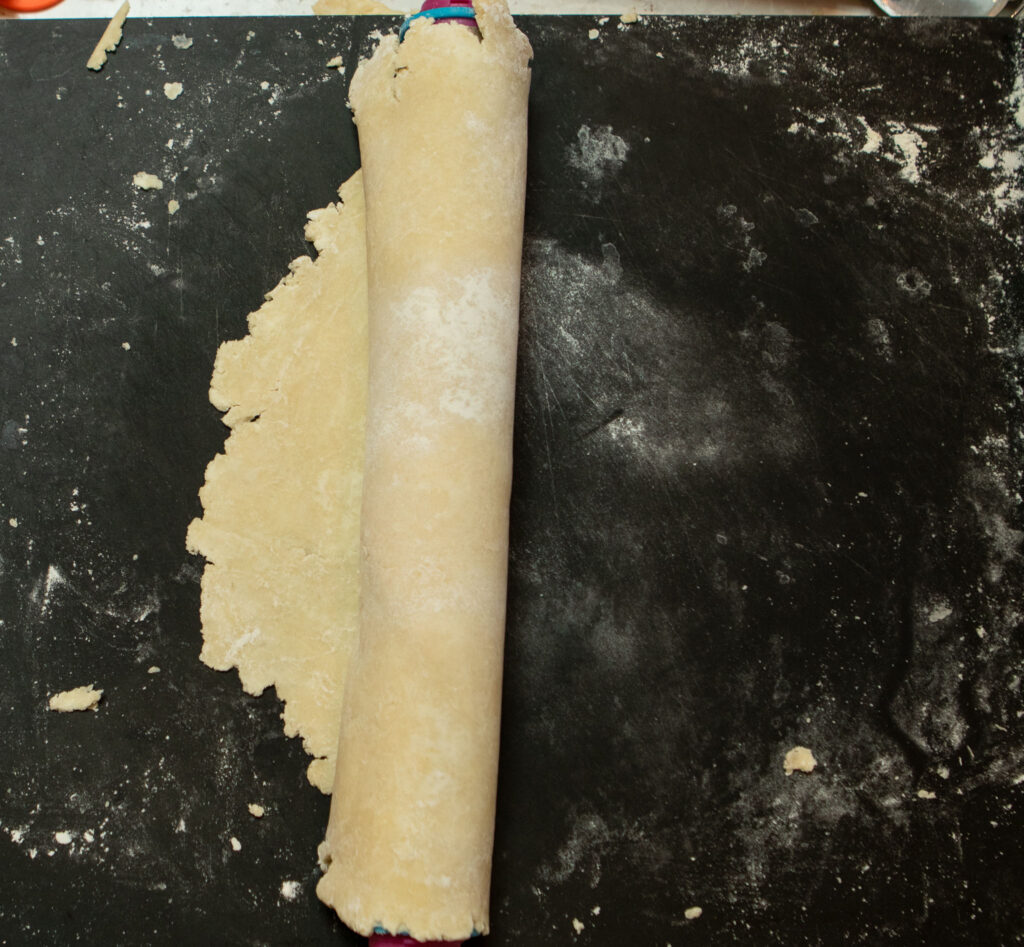
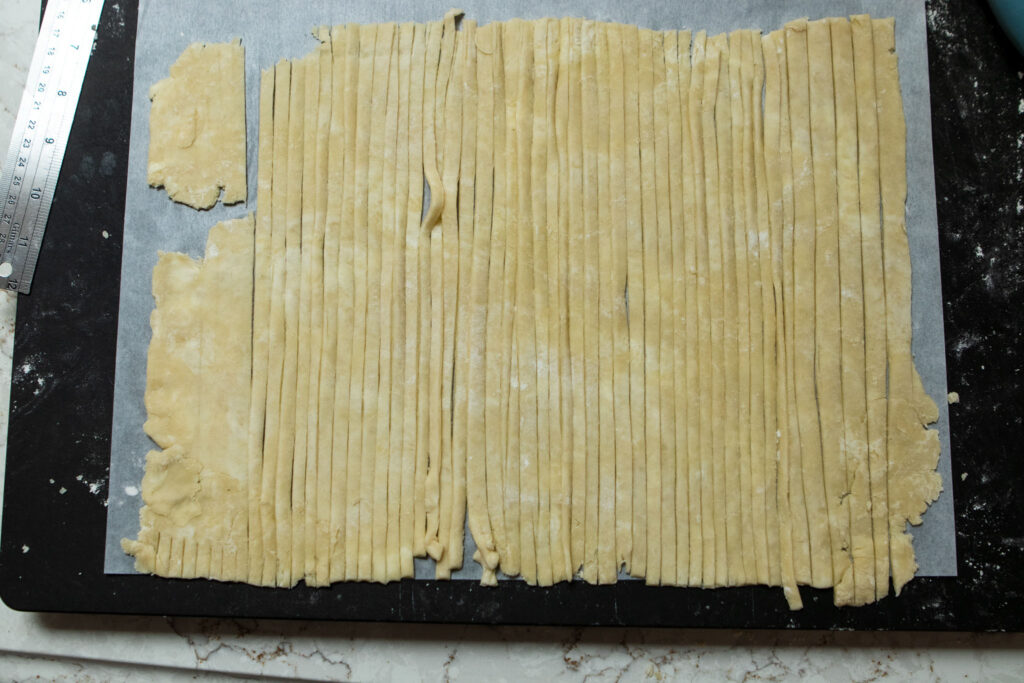
After the dough gets rolled into a rectangle, I like to roll it around a rolling pin and then gently unfurl it onto a sheet of parchment paper. I take a straight-edge ruler and a pizza cutter, and cut 1/2-inch strips. The whole parchment sheet gets slid onto a baking sheet and bake into the fridge to wait for the rest of the pie to come together.
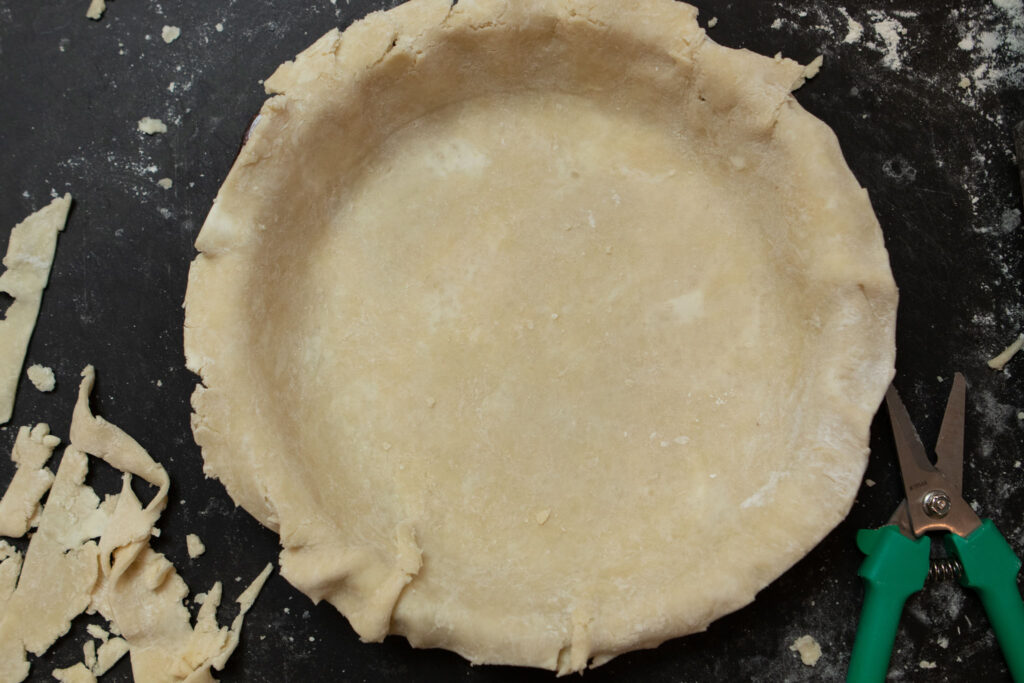
The second pie crust gets rolled into a circle, then rolled over the rolling pin and dropped into the pie dish.
Making the filling is a delight especially when you can you frozen fruit! You don’t have to use frozen fruit, but the beauty is that you can have a summer fruit pie all winter long! What a novel idea! It’s a simple combination of fruit, sugar, lime juice and tapioca starch (to bind it together). That’s it and it is so darn good!
Mix it up, pour it into the pie shell, and get ready for making the spokes.
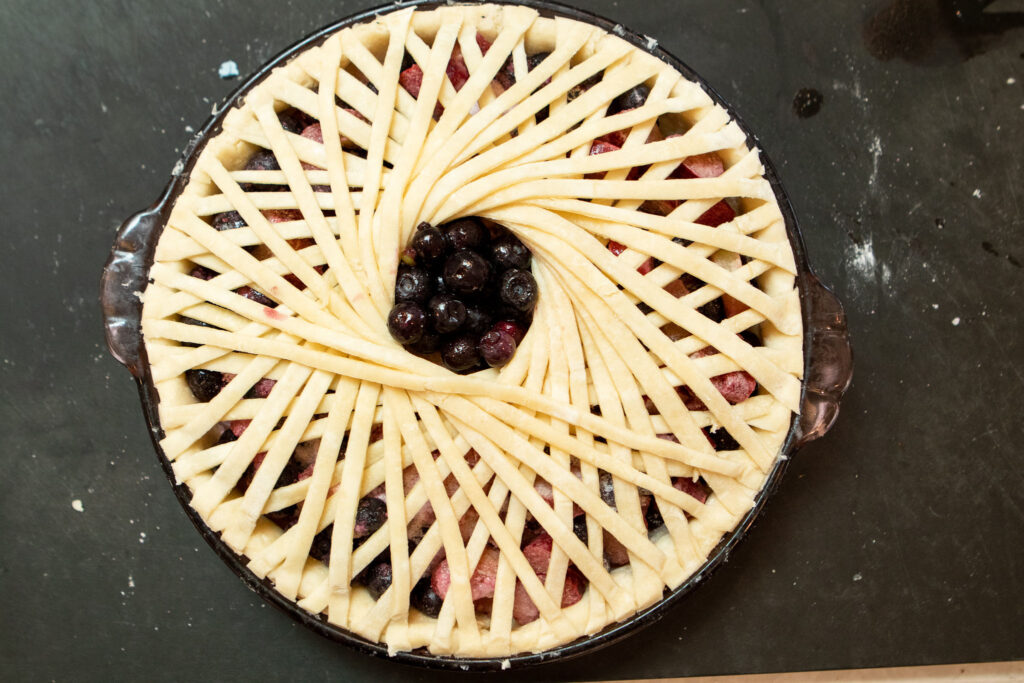
Remove the strips from the fridge, and place a small cookie cutter in the middle of the filling, to use as a guide. start with one strip and lay it across the pie making sure it touches the outside of the cutter. Continue laying strips, 1/2-inch apart all the way around the pie. You’ll have enough to double over the top layer.
Brush a little egg wash onto the spokes, sprinkle with coarse sugar, and pop this bad boy into the oven.
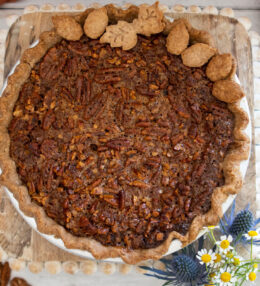
The beautiful and delicious pie will be the result of your efforts! Happy baking!
Share Your Thoughts...
Lastly, if you make Blueberry Rhubarb Pie, be sure to leave a comment and/or give this recipe a rating! Above all, I love to hear from you and always do my best to respond to each and every comment. And of course, if you do make this recipe, don’t forget to tag me on Instagram! Looking through the photos of recipes you all have made is one of my favorite things to do!
3 cups (454 grams) fresh or frozen rhubarb, cut into 1/4-inch slices
1 cup granulated sugar
1/3 cup tapioca starch
1/2 tbsp fresh lime juice
1 tsp Kosher salt
Egg Wash (one whole egg whisked with 1 tbsp heavy cream)
Coarse sugar
Instructions
Roll 1 dough disk into an 11×15-inch rectangle. Roll the dough onto the rolling pin and unfurl it onto a sheet of parchment paper. Using a ruler as a straight edge and a rolling pastry wheel or pizza cutter, cut the rectangle widthwise into at least 30 1/4-inch or 1/2-inch strips.
Slide a flat baking sheet under the parchment and place the dough in the fridge to keep cold while proceeding with the pie.
Roll the second dough disk into a 14-inch circle. Roll the dough onto the rolling pin and unfurl it over a 9-inch pie pan. Taking the edges of the dough, gently ease the dough into the pan, nestling it into the inner elbows of the pie pan. Trim the excess dough with kitchen shears to create a 1-inch overhang. Fold the overhang back under, creating an elevated edge.
For the filling, set aside 1/4 cup of the blueberries. Combine the remaining blueberries, rhubarb, sugar, tapioca starch, lime juice, and salt in a large bowl. Gently fold with a spatula until all the fruit pieces are coated. Pour the filling into the pie shell.
Place a 2-inch circle cutter in the center of the filling as a reference point. Using a small pastry brush, lightly dab water around the edge of the pie shell.
Remove the dough strips from the fridge. Gently pick up a strip of dough, handling it only from the ends, and lay it across the pie, with the strip grazing the outside of the circle cutter. Lightly press the strip into the edges of the pie to secure.
Place another dough strip across the pie. The center of this second strip should lay slightly on top of the first and also graze the center circle cutter. The end of the strip in your left hand should rest 1/2- inch to the left of the first trip and the end in your right hand to the right of the first.
Continue laying dough strips in this fashion, working your way around the pie surface twice. Resist the urge to manually curve each strip.
Press the edges of the pie to secure the strips in place. Holding a paring knife at a 45-degree angle to your work surface, run it around the edge of the pie pan to trim the excess dough.
Gently remove the center ring cutter and carefully fill the crater with the 1/4 cup of reserved blueberries.
Chill the entire pie in the freezer until the oven has come to temperature, about 20 minutes. Preheat the oven to 425°F. Line a rimmed baking sheet with parchment and prepare the egg wash.
When the oven has reached temperature, remove the pie from the freezer and place it on the prepared baking sheet. Brush with the egg wash and sprinkle with coarse sugar.
Bake the pie for 25 minutes, then rotate the pie 180° and lower the oven to 350F. If the edges are already brown, cover with a shield. If the top begins to brown excessively, rest a sheet of foil lightly on top. Continue baking until the filling is bubbling in the center, checking every 30 minutes to rotate the pie and adjust the shields as necessary, 80-100 total minutes.
Cool the pie completely on a rack before slicing and serving.


Leave a Review