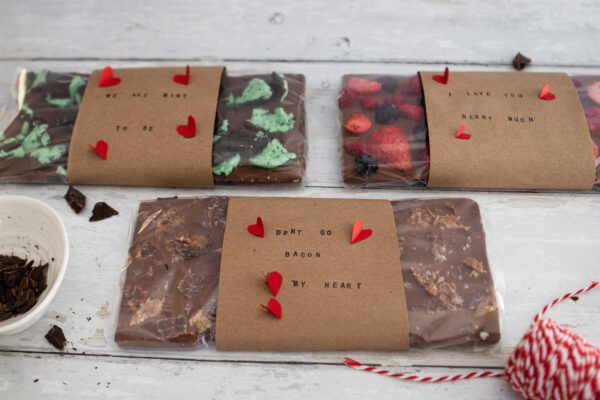
Homemade Chocolate Bars for Valentine’s Day are a beautiful way to say “I love you”! Let your special person know that you’re willing to go the extra mile for them to make Valentine’s Day a real treat!
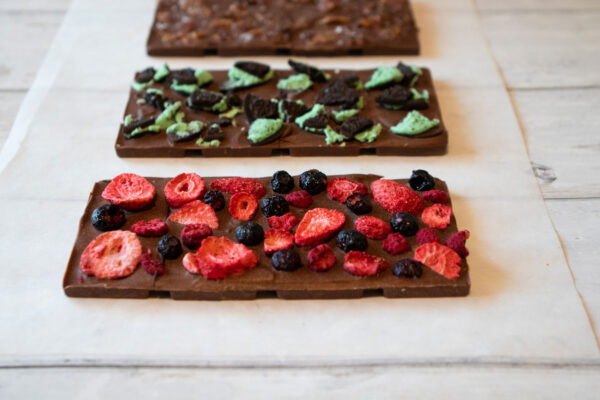
These bars are so fun to make. You can use any type of chocolate that you like (my honey loves milk chocolate so that’s the base of all of these bars) and use any topping you like! I’ve chosen mint Oreo cookies, candied bacon and freeze-dried berries, but you could also add nuts, dried fruit like cranberries or blueberries, toffee pieces, chopped waffle cones, sprinkles, etc.
This is a crafts project, as well as a food project, so have fun with it!
Melt all of your chocolate either in a bowl over a pot of simmering water. When it’s melted, remove from heat but keep the bowl over the pot so that it doesn’t cool too quickly. You could also zap the chopped chocolate in the microwave for 30 seconds at a time until it’s melted.
Cover them with your favorite toppings and let them sit out for about 15 minutes and then transfer to the fridge to fully set. Once they’re chilled, they’re super easy to pop out of the molds and wrap.
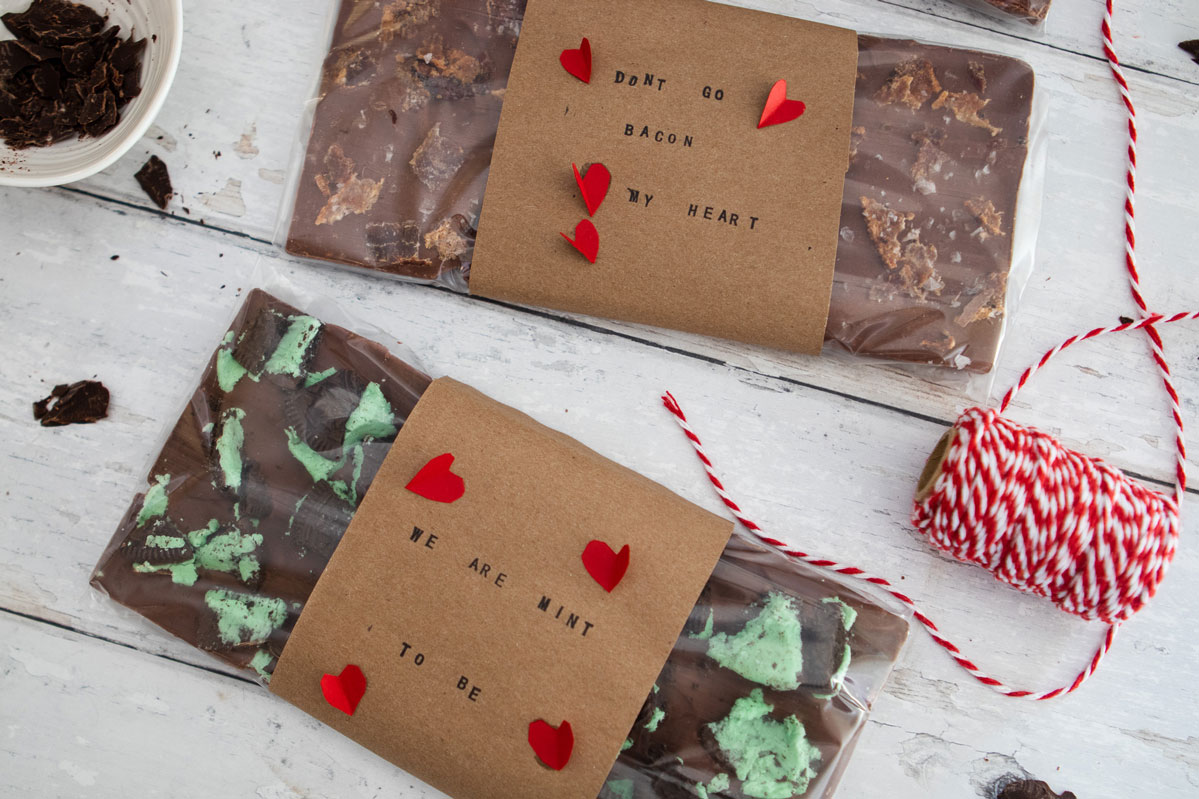
How to wrap homemade chocolate bars…
These homemade chocolate bar wraps are so easy to make that ANYONE can do it…even if you don’t think you’re a crafty person.
Start by cutting 3.5×8 inch strips of brown craft paper. You could also recycle a brown paper bag.
Using a roller stamp and an ink pad, stamp on your letters. Try to line them up as best you can. I wasn’t perfect at it but I also like that it gives these bars a homemade look.
Take a red sheet of construction paper and fold it in half. Cut out varying sizes of tiny hearts then glue one of the sides on to your brown paper for a 3D affect.
Wrap each bar in clear cellophane bags and tape down any excess, similar to wrapping a present.
Cover each bar in the brown paper and tape it in the back. It’s that easy!
Your loves are going to love these bars!!
Share Your Thoughts...
Lastly, if you make Homemade Chocolate Bars, be sure to leave a review down below at the bottom of this page (stars are also appreciated)! Above all, I love to hear from you and always do my best to respond to each and every review. And of course, if you do make this recipe, don’t forget to tag me on Instagram! Looking through the photos of recipes you all have made is one of my favorite things to do!
A handful of freeze-dried strawberries and blueberries
Candied Bacon:
3 strips bacon
1/3 cup brown sugar, divided
Instructions
Candied Bacon:
To make the candied bacon, preheat your oven to 350°F and place three strips on a cooling rack over a baking sheet. Sprinkle the tops with 1/2 of the brown sugar and bake for 15 minutes. Flip, sprinkle more sugar, and bake for another 15 minutes. Let them cool completely before chopping and adding to the chocolate.
Chocolate Bars:
Place a heat-proof bowl over a pot of simmering water. Melt all of your chocolate then remove the pot from the heat with the bowl still on top. You’ll want to keep it over the pot so the chocolate doesn’t start to harden.Wipe down the bottom of your bowl as there will be some condensation on there. You don’t want that to drip into your molds.You can also microwave the chocolate in a microwave-safe bowl in short bursts of 30 seconds at a time, stir, repeat until melted.
Place molds on a sheet pan.Pour the chocolate into the molds and level with an offset spatula.
Top each chocolate bar with the designated ingredients. Let them sit at room temperature for about 15 minutes then carefully transfer to the fridge. They should harden within 20 minutes.
Carefully remove them from their molds and wrap. These instructions are listed in the blog post. Enjoy!


Leave a Review