Happy Fourth of July, my friends!!! This holiday makes me very happy…so happy that I just need to bake!
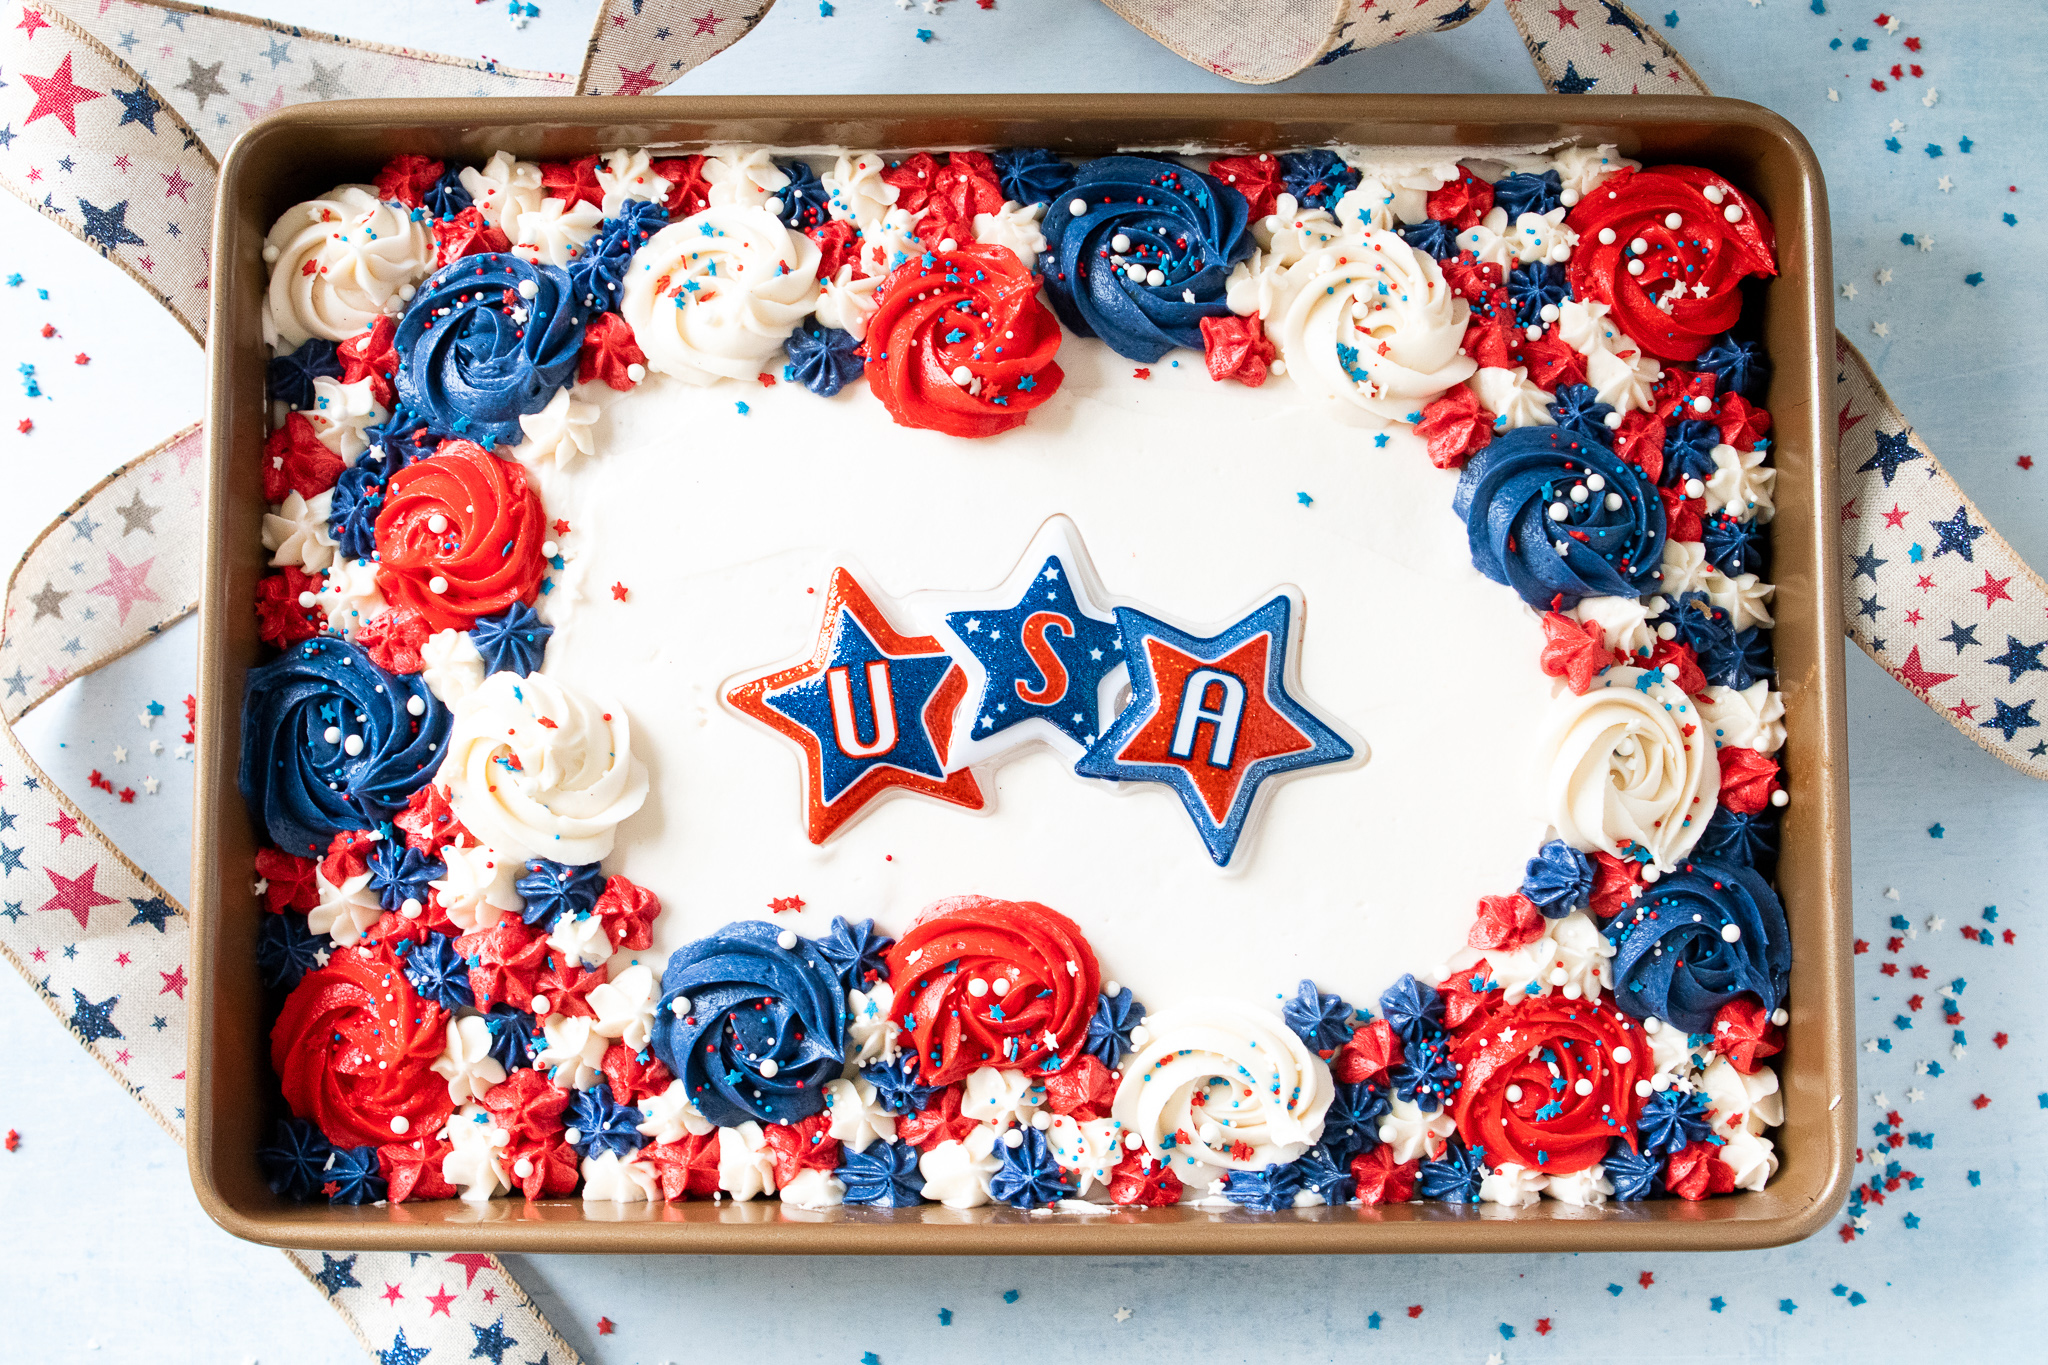
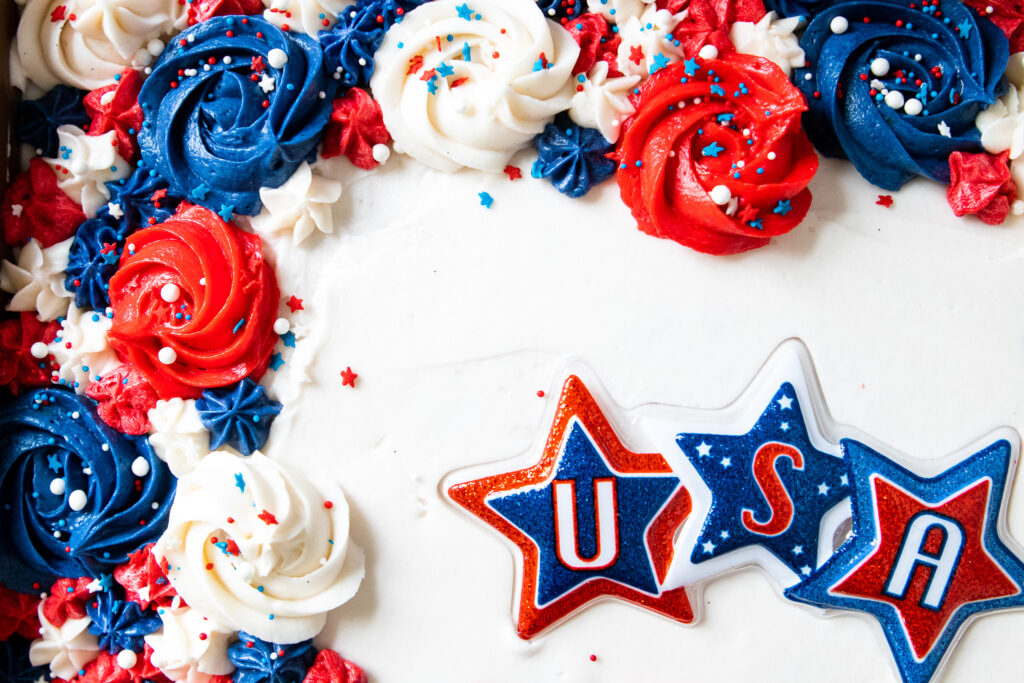
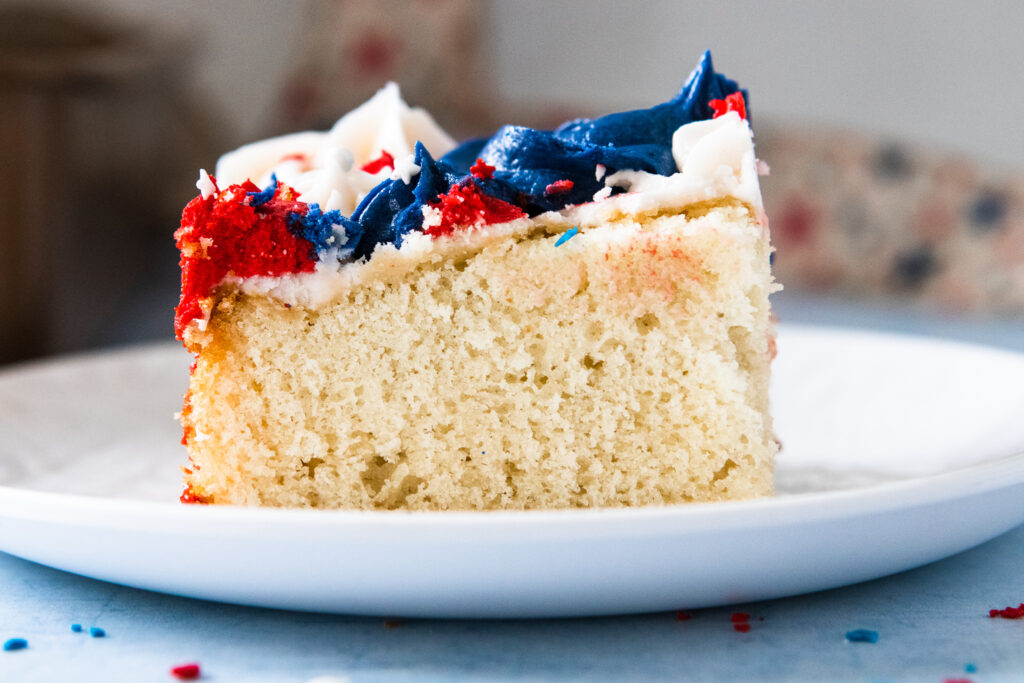
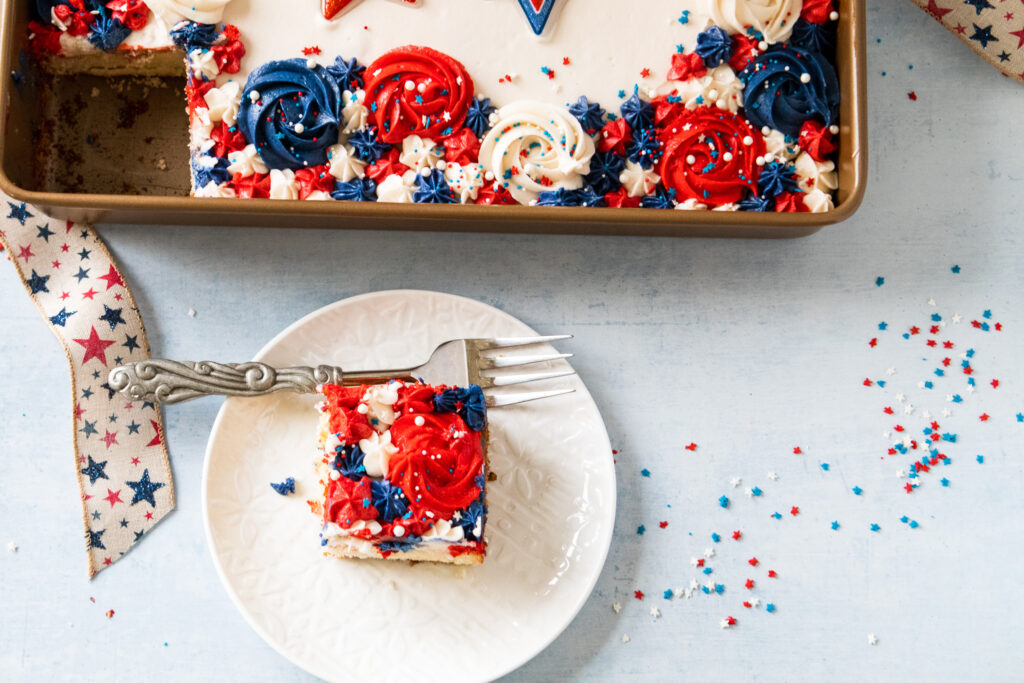
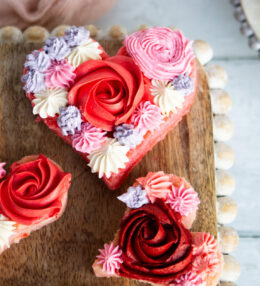
I decided a Fourth of July Vanilla Sheet Cake would be the way to go. Bake it up in a 9×13 baking pan and don’t worry about layers or smooth frosting on the sides. Just spread some whipped vanilla buttercream on the cooled cake and you’re done. Or not…be like me and pipe some rosettes and stars on the top, sprinkle some non-pareils and stars over, add a little USA topper and ta-da! Looks spectacular! Celebration-worthy!
This is an interesting cake in that it employs a reverse creaming process. Typically, you cream butter and sugar together, add eggs and vanilla and then add your dry ingredients, alternating with milk.
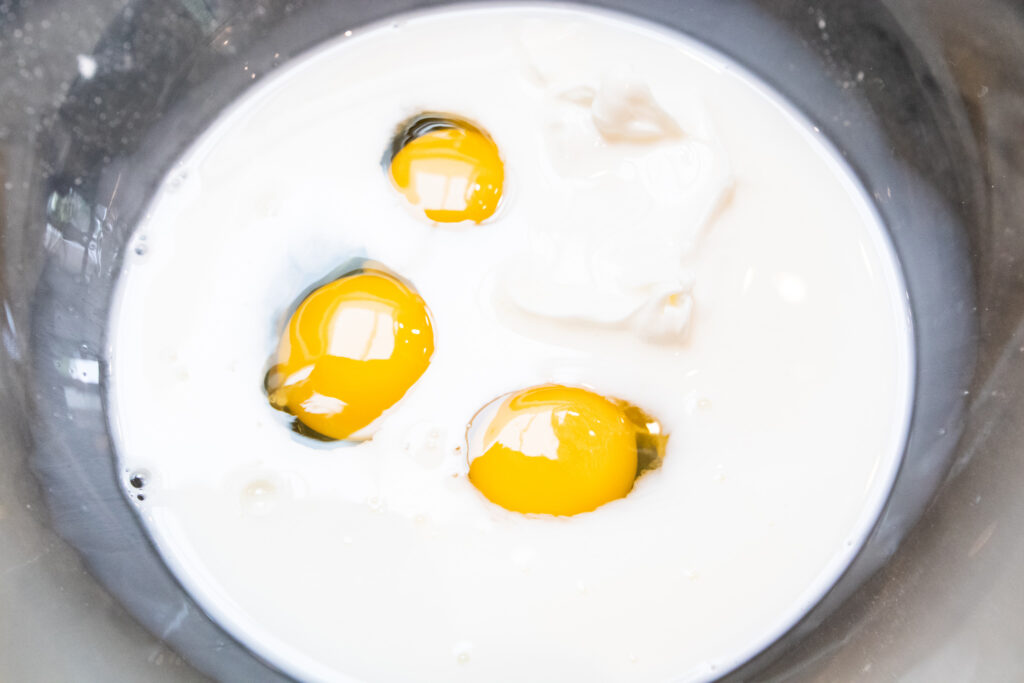
With this recipe, we are mixing all of our dry ingredients together, including the sugar, and then combining with the softened butter, vanilla and milk. The wet ingredients (eggs, more milk and sour cream) get whisked together and then added to the batter a little at a time.
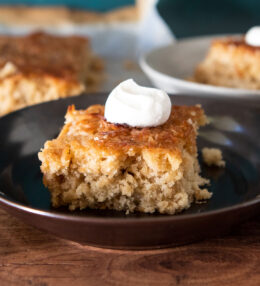
So, why bother with this process vs a traditional creaming method? I love it when I am looking for a tighter, moist crumb to my cake. The cake is soft and springy with a robust vanilla flavor. it reminds me a bit of a pound cake but not at all dense. If you check out the photo of the side of the cake, I think you will see what I mean about a tighter crumb.
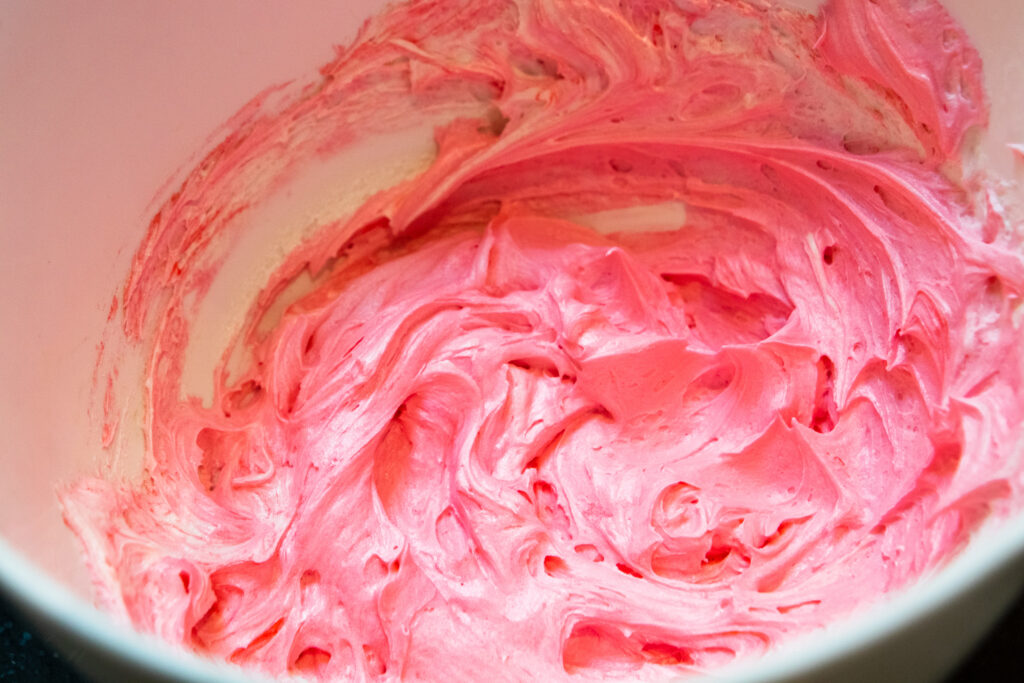
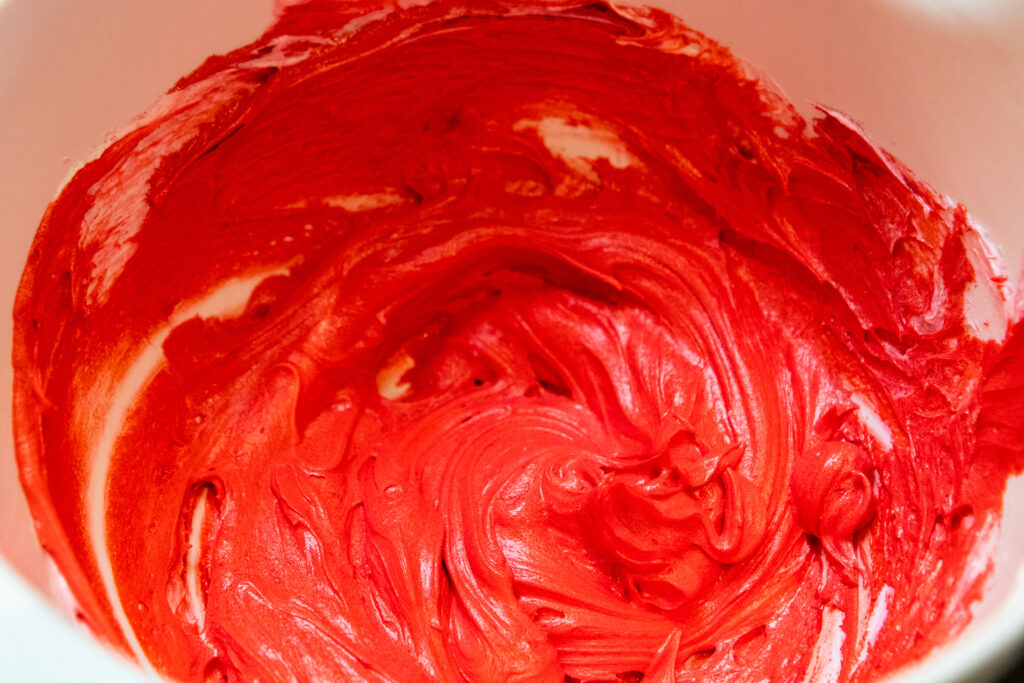
Let’s discuss the buttercream colors…in order to get deep colors, such as the red and blue above, it takes a lot of food coloring. Unfortunately, that can stain your teeth when you eat it and can sometimes change the texture of the buttercream. Instead, try mixing these colors and then let them sit for a few hours so that the colors can deepen.
To get a red buttercream, start by adding about three drops of soft pink food coloring to your white buttercream. Stir well. Next, add about a teaspoon of true red food coloring. Then, once you’ve mixed the buttercream so that no streaks of food coloring remain, cover the buttercream and let it sit at room temperature for a few hours.
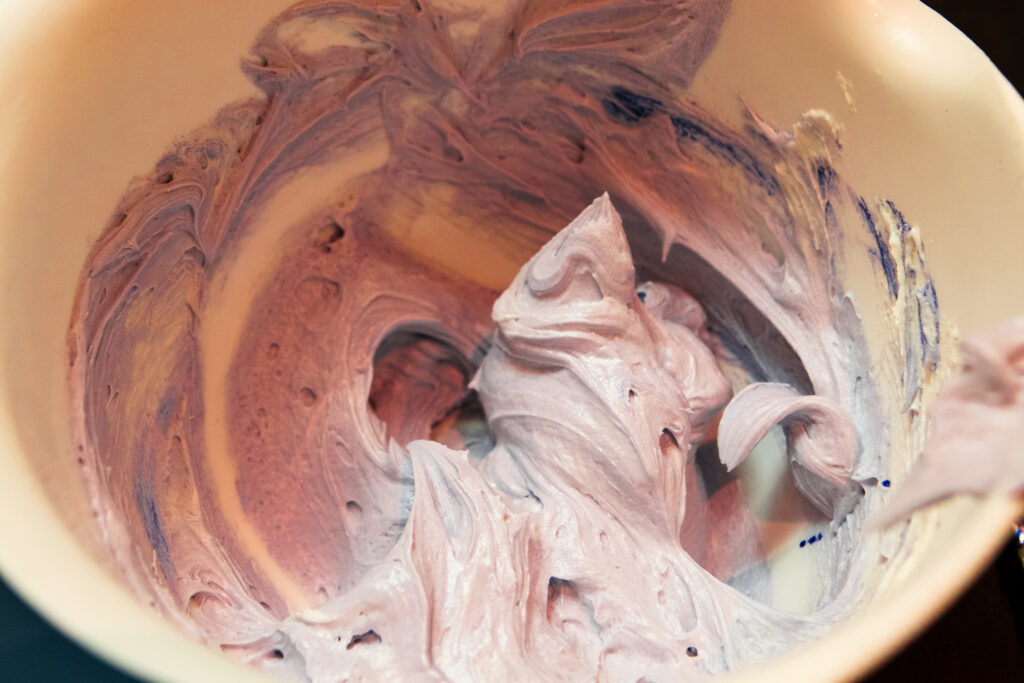
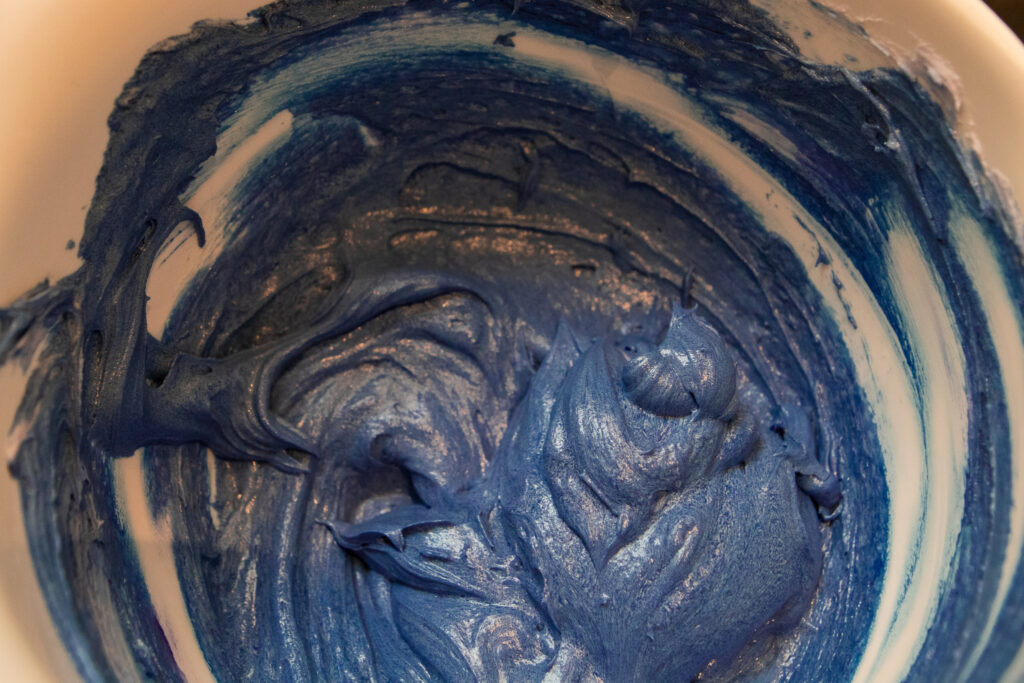
For the navy blue buttercream, repeat the above process using 3 drops of magenta or violet food coloring. Once mixed, add one teaspoon of navy food coloring. Once mixed well, cover and let sit on the counter for a few hours so that the colors intensify.
Finally, it’s perfectly acceptable to spread piles of this whipped buttercream over the top, add some red, white and blue sprinkles and call it a day. Or, use a 1M piping tip to make rosettes and a 32 tip to make stars. Either way, your cake will be delicious, festive and perfect for the big celebration!
It is also a great cake to take for a potluck, switch up the colors and make it a birthday cake with some funfetti sprinkled over, or top it with a chocolate buttercream and chocolate shavings. It’s a versatile cake, so have fun with it!
Share Your Thoughts...
Lastly, if you make Fourth of July Vanilla Sheet Cake, be sure to leave a comment and/or give this recipe a rating! Above all, I love to hear from you and always do my best to respond to each and every comment. And of course, if you do make this recipe, don’t forget to tag me on Instagram! Looking through the photos of recipes you all have made is one of my favorite things to do!
Fourth of July Vanilla Sheet Cake
Makes: 12 servings
Prep Time: 20 minutes
Bake Time: 30 minutes
Total Time: 4 hours
Ingredients
Cake:
3 cups (354g) cake flour (spoon & leveled)
1 & 1/2 cups (300g) granulated sugar
1 tsp baking powder
1/2 tsp baking soda
1/2 tsp salt
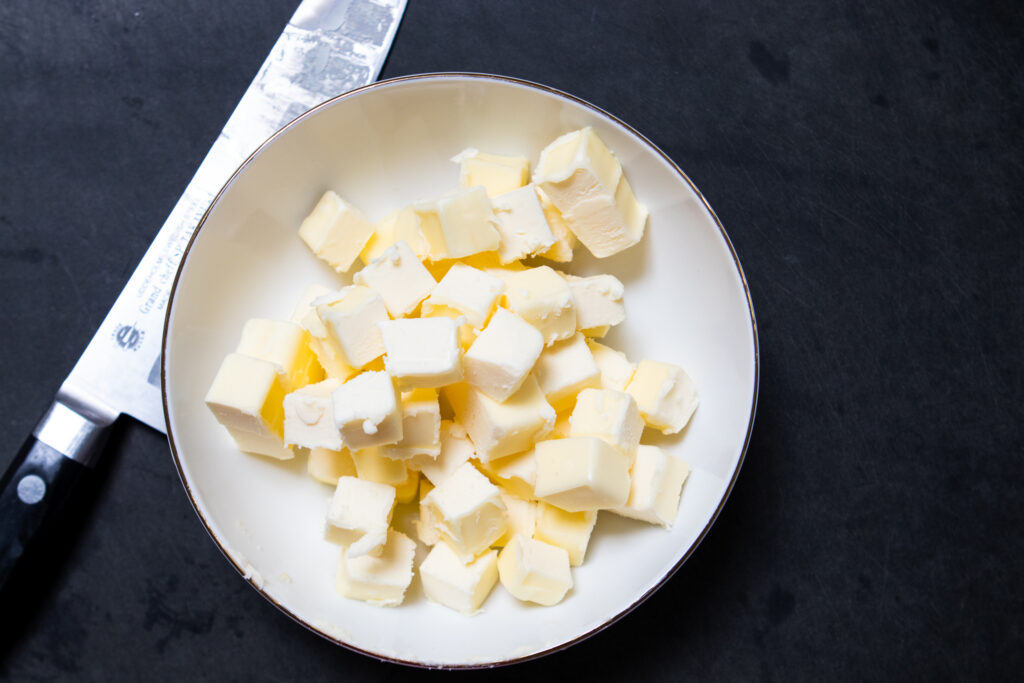
1 cup (2 sticks; 230g) unsalted butter, cubed and softened to room temperature
1 tbsp pure vanilla extract
1 cup (240ml) whole milk, at room temperature and divided
1/3 cup (80g) sour cream, at room temperature
3 large eggs, at room temperature
Whipped Vanilla Buttercream:
1 cup (230g) unsalted butter, softened to room temperature
4 & 1/2 cups (540g) confectioners’ sugar
1/3 cup (80ml) heavy cream
2 tsp pure vanilla extract
salt, to taste
3 drops soft pink gel food coloring
1 tsp true red or red red gel food coloring
3 drops magenta or violet gel food coloring
1 tsp navy food coloring
optional: sprinkles for garnish
Instructions
Make the Cake:
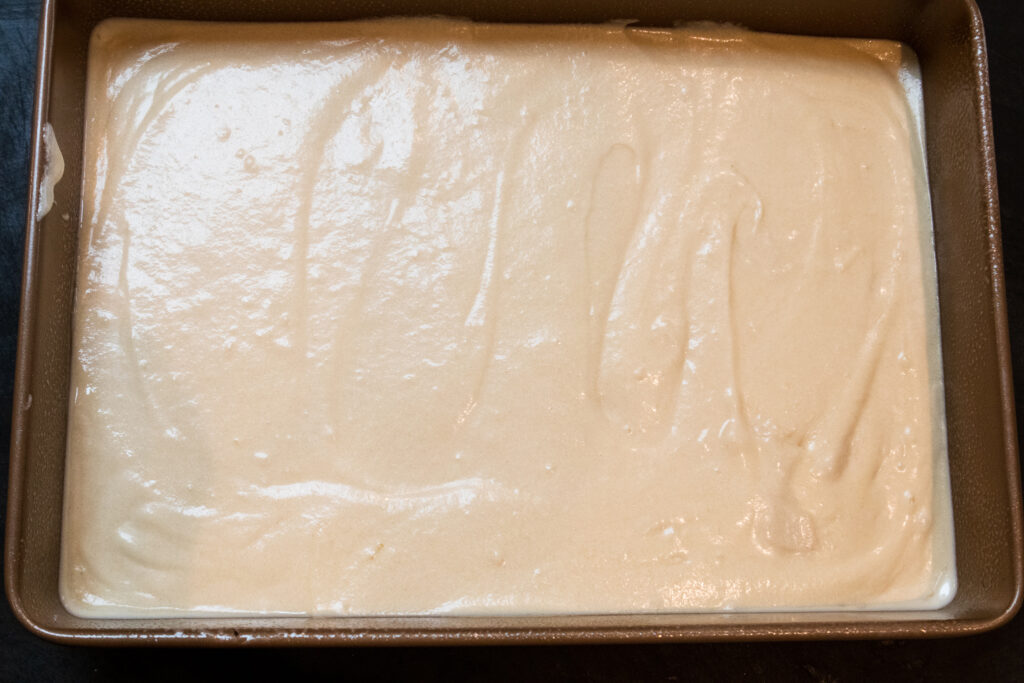
Preheat the oven to 350°F. Generously grease a 9×13 inch cake pan.
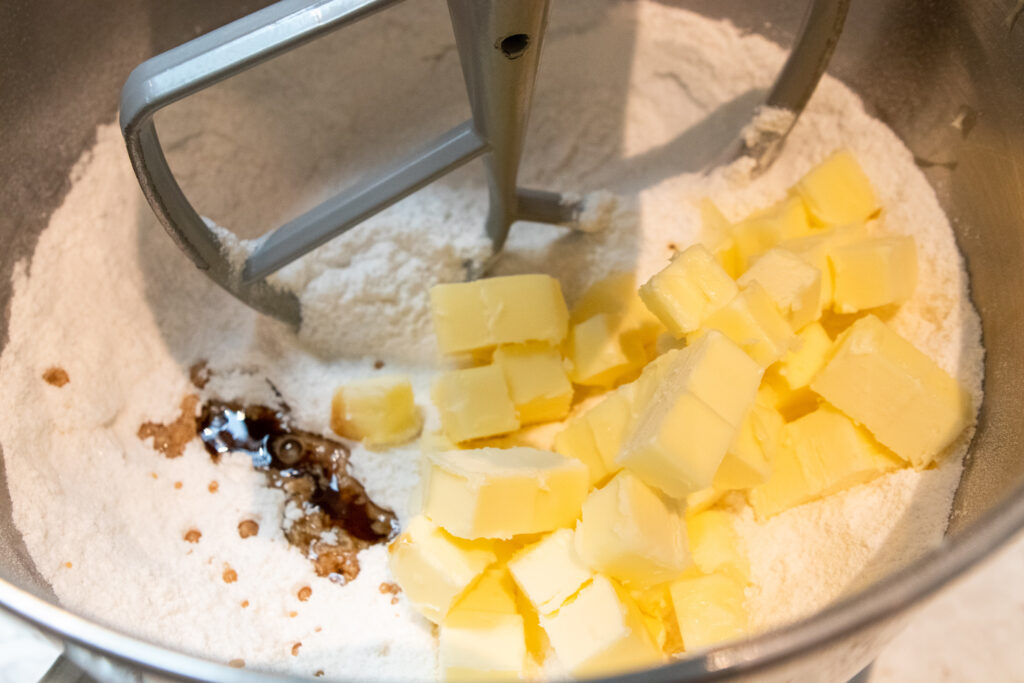
Sift the cake flour, sugar, baking powder, baking soda, and salt in the bowl of a stand mixer. With the paddle attachment, beat the ingredients together on low speed for a few seconds to gently combine. Add the butter, vanilla, and 1/2 cup of milk. Mix on medium speed until the dry ingredients are moistened, about 1 minute. Stop the mixer and scrape down the sides and up the bottom of the bowl. The mixture will resemble a thick dough.
Whisk the remaining milk, the sour cream, and eggs together in a medium bowl. With the mixer running on medium speed, add the egg mixture in 3 additions, mixing for about 15 seconds after each addition. Stop the mixer and scrape down the sides and up the bottom of the bowl, then mix for about 15 more seconds until batter is completely combined. Avoid over-mixing. Some small lumps are okay.
Pour and spread batter evenly into prepared pan. Bake for around 32-35 minutes or until the cake is baked through. Begin checking doneness at 28 minutes. To test for doneness, insert a toothpick into the center of the cake. If it comes out clean, it’s done. Allow cake to cool completely in the pan set on a wire rack. The cake must be completely cool before frosting.
Make the Buttercream:
With a handheld or stand mixer fitted with a paddle attachment, beat the butter on medium speed until creamy, about 2 minutes. Add confectioners’ sugar, heavy cream, and vanilla extract. Beat on low speed for 30 seconds, then increase to medium-high speed and beat for 4 full minutes. Add up to 1/4 cup more confectioners’ sugar if frosting is too thin or another tablespoon of cream if frosting is too thick. Add a pinch of salt if frosting is too sweet (I added 1/8 teaspoon salt). Frosting should be extra fluffy.Divide buttercream into three separate bowls.
To make the red buttercream, place 3 drops of soft pink gel food coloring and stir to combine.Then add the red gel food coloring.Stir until there aren’t any streaks.Follow the same steps for the blue buttercream, using magenta drops and 1 tsp of navy gel food coloring.The key to getting a deep color is to let it sit out for hours, overnight if possible.The colors will intensify with time.It won’t hurt the buttercream to have it sit out overnight but if you are uncomfortable with that, feel free to place it in the fridge (it may take longer to reach the depth of color you are looking for).
Spread white frosting over cooled cake using an offset spatula. Pipe rosettes and stars using a 1M and #32 tip and garnish with sprinkles. Slice and serve.Cover leftover cake tightly and store in the refrigerator for up to 5 days.
Chef’s Notes:
Make Ahead & Freezing Instructions: The cake can be baked, cooled, and covered tightly at room temperature overnight. Likewise, the frosting can be prepared ahead, covered and refrigerated overnight. Let the refrigerated frosting sit at room temperature for 10 minutes, then beat with a mixer for 1 minute to bring it back to a spreadable consistency. Frosted cake or unfrosted cake can be frozen up to 2-3 months. Thaw overnight in the refrigerator and bring to room temperature before decorating/serving.
Cake Flour: For the best results, I strongly recommend cake flour. You can find it in the baking aisle and I have many more recipes using it. If you cannot get your hands on cake flour, follow my instructions here.
Why is everything at room temperature? See why here.


Leave a Review