Overnight Turkey
- November 12, 2022
- 5 / 5
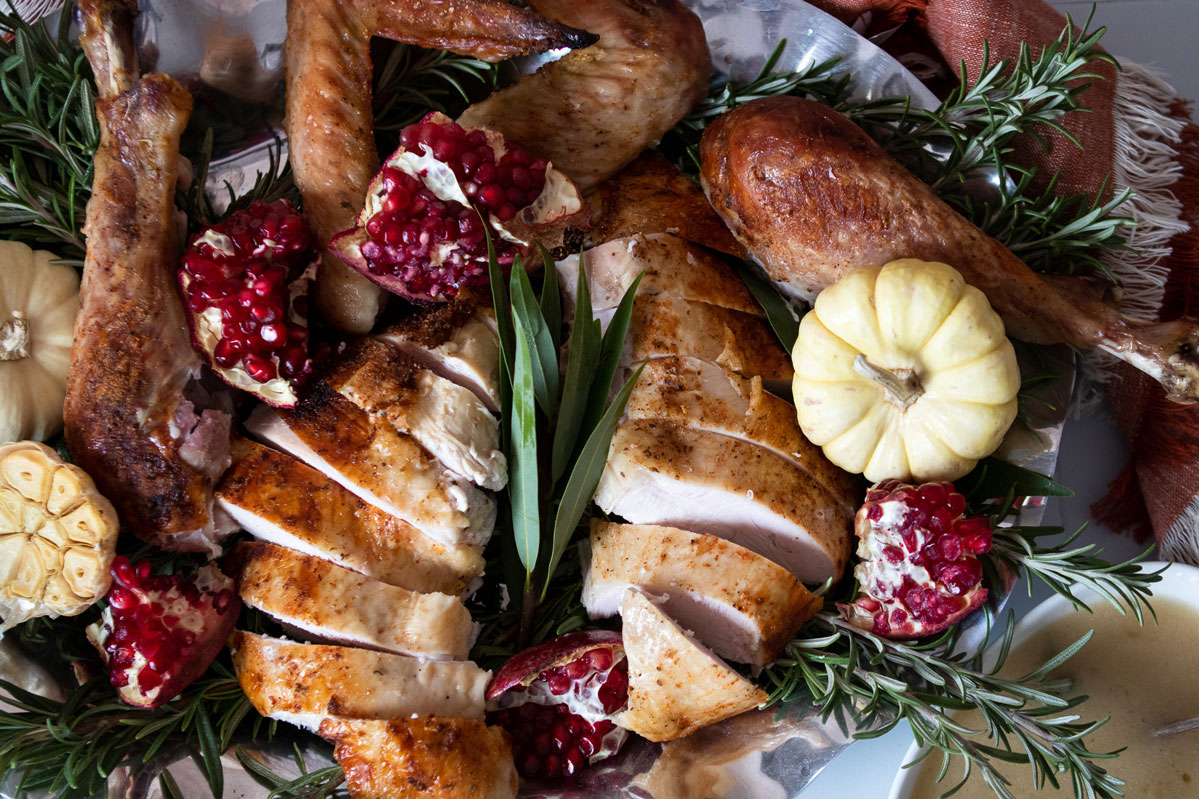
Overnight Turkey sounds too good to be true, right? Pop a turkey in the oven at night and wake up to the wonderful aromas of roasting turkey, freeing up oven space for stuffing and other baked goodies? If that sounds just about perfect, then check out this recipe!
It’s really a very old concept. Back in the day, when most households had only one small oven, people had to get creative about how to time everything for Thanksgiving. Rather than waking up at the crack of dawn to roast the turkey, wait for it to be done, then bake the stuffing, etc., they roasted the turkey overnight on a very low heat. Slow cooking at its best.
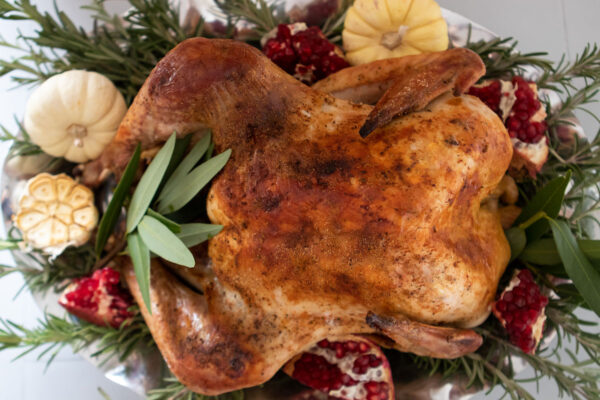
So, how exactly does this work? The first thing you want is a defrosted turkey. This can take time, so plan accordingly. Normally I prefer fresh turkey, but since I roasted this for the blog post before the fresh ones were available, I used a frozen 15-pound turkey. It took three days in the refrigerator to defrost. Never roast a frozen turkey! Bad idea!
Once your turkey is defrosted, you are ready to prep it.
Remove the gizzards, liver and neck from the turkey cavity (don’t throw them away). Rinse and pat dry the bird.
Rub a light coating of olive oil all over the turkey and then sprinkle the spices all over and inside the cavity.
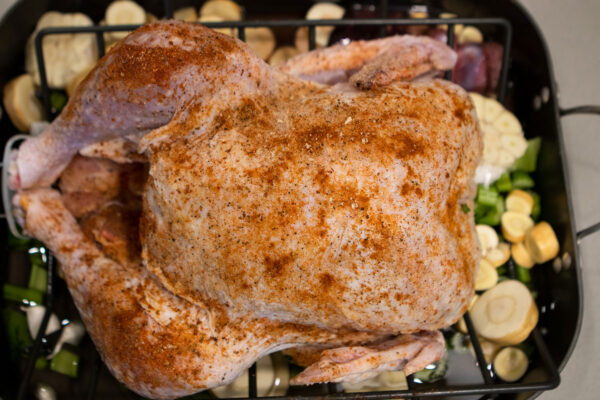
Place the turkey on a rack in a roasting pan, breast side up. Place the onions, celery, parsnips and garlic under the rack and add enough water to reach the bottom of the rack but not touching the turkey. Add the reserved turkey neck, gizzard and liver to the pan.
Completely cover the roasting pan in heavy-duty aluminum foil. It’s important to seal the pan so that no moisture escapes. This is what will keep the turkey so moist.
Now, we’re slow-cooking the turkey at a very low heat. There are different thoughts about how low to go, but I like 170-180°F for smaller turkeys and 200°F for larger turkeys (20-24 pounders). Some recipes suggest starting at a high heat for an hour and then lowering it for the remainder of the time but I prefer to keep it simple and keep it low until the very end.
Roast the turkey while you sleep. Ideally, put the turkey in the oven around 10:00 pm. Dream of yummy things and wake up to the incredible smells of roasting turkey!
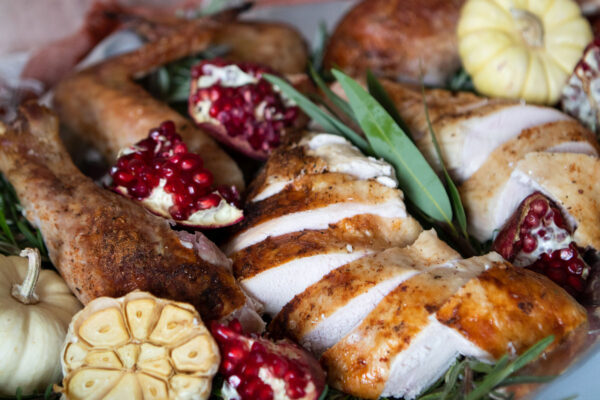
If you put the turkey in at 10:00 p.m., by 8:00 a.m. the next morning, you’ve had it in for 10 hours. I would check it at 7:00 a.m., after 9 hours. Using an instant-read thermometer, check the temperature in the thickest part of the thigh. It should read 155°F. If it isn’t there, leave it in the oven until it gets close. Don’t worry that the internal temperature sounds too low. We’re going to pop the heat up to brown the turkey and that will finish the cooking, along with the rest period.
Once you get to about 155°F, remove the turkey from the oven, turn the heat up to 450°F and, once preheated, roast the turkey another 15-30 minutes, until the skin is browned and crispy and the internal temperature of the breast is 160°F and the thigh is 170-175°F.
Remove the roasting pan, lift the turkey and rack out of the pan and pour all of the drippings and vegetables through a sieve or colander so that you have the drippings separated from the vegetables. Throw the vegetables away and save the drippings for Delicious Turkey Gravy.
Place the turkey and rack back in the roasting pan and tent with foil for 20-30 minutes.
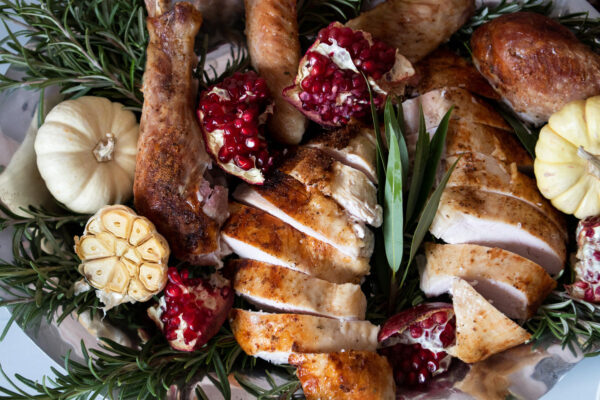
What if the turkey is done, but it’s 10:00 a.m. and you aren’t serving it until 3:00 p.m.?
The timing of this turkey is a big question that I get and I have some answers!
The turkey will stay warm for hours as if it’s in a warming drawer if you cover the turkey with aluminum foil and then place heavy beach-type towels over it. I used three heavy towels and set the turkey on my washing machine for four hours and it was still warm and safe from harmful bacteria. The towels act as a warming drawer but also keep it from drying out.
You can also leave the turkey in the oven for a few more hours. It won’t dry out since it’s being slow-cooked; it may just fall off the bones (which will be unbelievably delicious but not as pretty to display).
Another option is to place it in the refrigerator, whole or carved and reheat it in a 300°F oven. Make sure that you cover it with foil when you reheat it. If it’s carved, you can place the pieces on a baking rack in the roasting pan with a bit of chicken stock under it to keep it moist. You will probably need about 20 minutes to reheat it. If the turkey is left whole, reheat it for about 30 minutes.
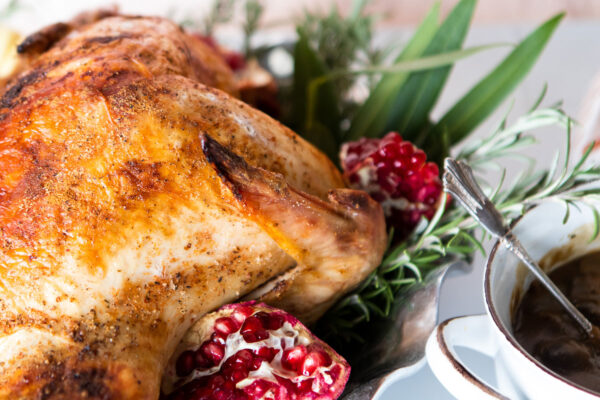
There’s a lot of flexibility on this recipe. If you find that it’s not cooked to the internal temperature of 155°F after 10 hours, just increase the heat (if you need the oven or are tired of checking it) to 300°F and check the temperature every 15 minutes.
This is a wonderfully easy way to cook your turkey. It will be moist and delicious and you will have kept your sanity with all that needs to be done the day of Thanksgiving! Happy holidays!
Share Your Thoughts...
Overnight Turkey
Makes: 8-10 servings
Prep Time: 20 minutes
Cook Time: 10 hours
Total Time: 10 hours & 20 minutes
Ingredients
- 14-16 pound turkey (see Chef’s Note)
- extra-virgin olive oil
- salt & freshly ground pepper
- poultry spice
- paprika
- garlic powder
- 2 heads of garlic, peeled
- 2 yellow onions, cut in thick slices
- 4 celery stalks, coarsely chopped
- 3 parsnips, peeled and coarsely chopped
- Heavy duty aluminum foil
Instructions
Preheat oven to 180°F. If oven won’t go that low, set it to its coolest setting; anything up to 200°F is fine. Thoroughly wash turkey inside and out. Pat dry. Rub turkey with olive oil and then sprinkle spices all over it. Season inside as well as outside. Place turkey in a large roasting pan on a rack.
Place garlic, celery, parsnips and onions under the rack. Add enough water to come to the bottom of the rack and not touch the turkey itself. Add the turkey neck, liver and gizzard to the water in the pan.
Cover the pan completely by making a tent of heavy-duty aluminum foil. You must make sure that all the edges of the pan are covered so that the moisture will remain in the pan. This is the only tricky part to cooking a turkey like this.
Cook the turkey for 9 hours. Use a meat thermometer to check the turkey’s internal temperature and make sure the thickest part of the turkey thigh is at 155°F. The turkey will continue to cook so don’t worry that it’s too low. See notes below if the turkey isn’t at 155°F.
Raise the oven temperature to 450°F, remove the foil tent and cook an additional 15-20 minutes until the skin is browned and crispy and the breast is at 160°F and the thigh is 170-175°F.
Remove the turkey from the oven and allow to rest for 20-30 minutes, with the foil loosely covering the turkey. Save the drippings for the Delicious Turkey Gravy.
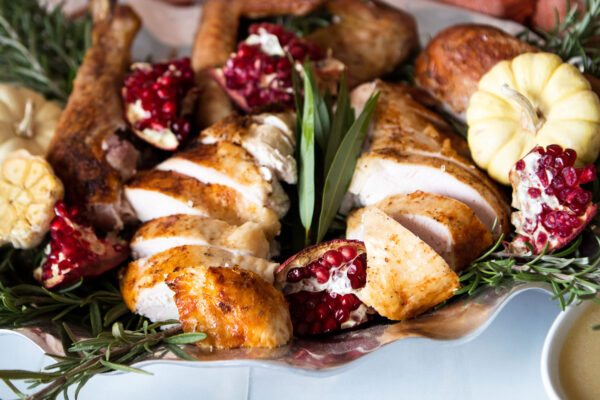
Carve the turkey and serve!
Chef’s Note:
If you are making a larger turkey, just increase the temperature to 200°F and follow the same instructions. The key is to remove the turkey when it reaches the correct internal temperature of 155°F for the thigh. I tried a 22-pound turkey and it took 10 hours at 200°F.
If, after 10 hours, turkey hasn’t reached 155°F and you need the oven space, increase the temperature to 300°F and check every 15 minutes.
You can leave the turkey in the pan to cool. Cover with foil and then put heavy towels over it if you need to leave it for a while.
Strain the drippings and refrigerate them. Remove the fat layer and use the drippings as a base for your gravy (see Delicious Turkey Gravy recipe).
See additional tips in blog post.
Ingredients
You May Also Like



 Fudgy Baked Chocolate Donuts are irresis


 Perfect for Game Day, this Sweet an

 Grilled Honey Mustard Chicken with Peach
 This gorgeous Lemon Cream Cheese Cake is ever


 These slightly charred Soy Sauce Pan-Fried No


Recipe Reviews